PAGES

Friday, April 20, 2012

MY LAST REUPHOLSTERING JOB EVER (maybe)!! AND A SNEAK PEEK TO A KITCHEN RENO


Not sure why I do this...buy old chairs I don't even need and reupholser them.  I obviously have an addiction to either cool old chairs, pretty fabrics I don't know what else to do with or simply torturing myself with 6 week projects. I sure it's all the above.

Here is a set I picked up.  Pretty slipper chairs.  I have tackled similar projects before, but nothing this involved, where I needed this metal strip tack thing and this cardboard edging thingy (thank you sweet man at the upholstering store for donating to me:).  This really is not a tutorial at all, I have tried to block out the entire incident and do not remember much of the process, but there are a lot of talented woman on DIY blogs with some great step by step tutorials.

Here they are before...isn't that awesome that I took a picture of the backs but not the fronts?  Seriously Julie?!


I started by removing the fabric so I could paint.  I made sure to keep all the pieces so I could use them as my template for the new fabric.


My original plan was to do a Restoration type whitewash and grey stain technique on the frames.  After I added the stripper to the chairs and started scraping, I quickly realized the front legs were not wood...but plastic:(  I was not only bummed because I could not do my original finish, but the stripped ate away at the plastic so much that I had to so some serious sculpting with my wood putty to make it look good again.  Plan B...I painted it white.


Here are just a few pics of the "during" process.  Notice the condition of my living room in the background pictures...it looked like this for weeks!


LONG story short...here is the end result:)  Not perfect by any means but I learned a LOT.  


 Here is another Cute one.  I like these type of reupholstering jobs.  Fun way to add pops of color, although I am sure some throw pillows would be a lot easier:)


SNEAK PEEK  

Here is a sneak peek at a current project I am doing.  I am helping my mom and my darling 93 year old grandma, who lives with her. do a VERY budget friendly DIY kitchen update.  Here are a few "before" and "during" pictures. 
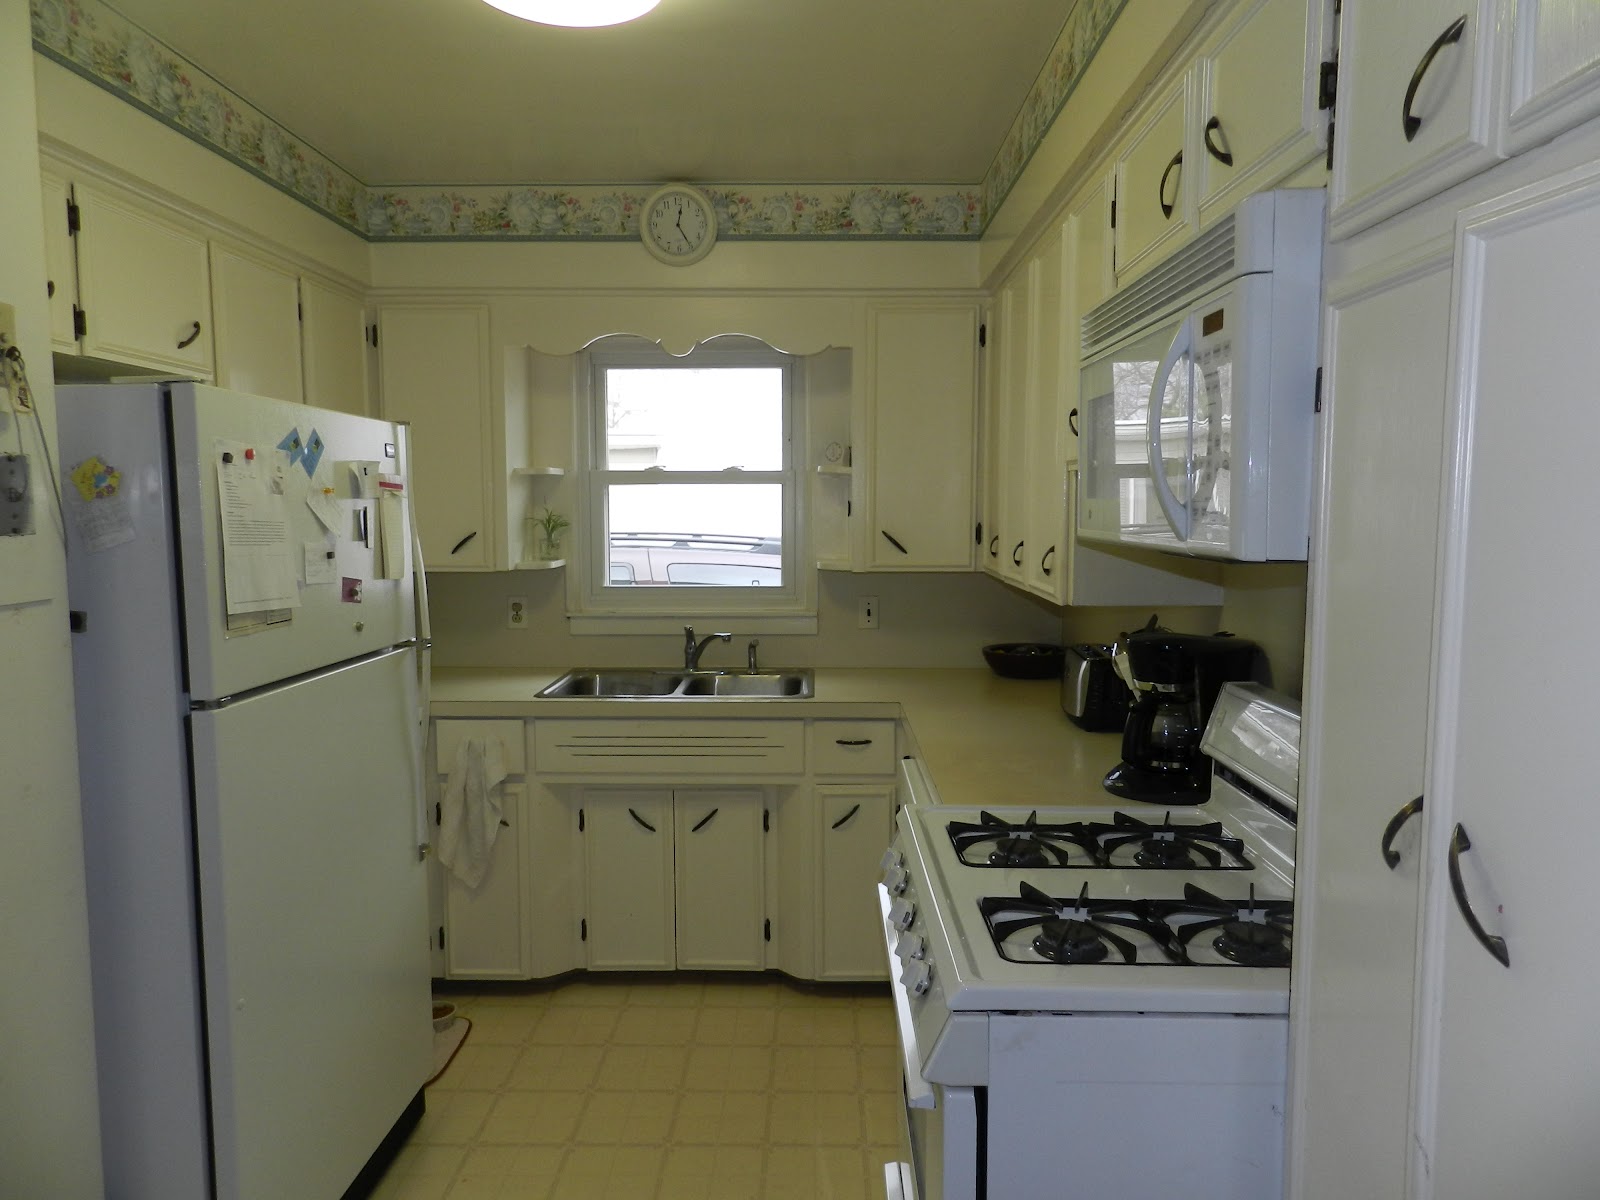


Here we are prepping and sanding down the frames.  The cabinet drawers and doors are at my house, took them home to spray.

 Such a mess! (my mom:)


Here I am, spraying the frames. I sprayed the doors and drawers at my house.


Saturday, April 14, 2012

FUN PROJECTS WITH DECORATIVE ALUMINUM SCREENS

I have always loved the look of metal screens that you would use to cover an old radiator.  In fact, I have incorporated in somehow on every one of the house that we built or renovated. There are a few different designs and colors to use.  I typically find mine at Homey D or Lowes.

In this particular case, I built a window seat in our office wanted a built in bench to "look" like it was an old radiator that I had built a box around.

Bad picture, I know, but you get the idea.

Although a built-in is a great and classic place to use these screens, I have gotten pretty creative with the left overs…

Replace the panel of a door on a cabinet


I have used them to cover in wall speakers in 2 homes and here, in our current home's retro Nutone.


Check out the nasty before picture of the original fabric!


I must have REALLY been bored this particular day....  I created a magazine holder out of the extra metal screen to make a magazine holder for the 1/2 bath of out current house.

Wish I knew I would be starting a blog a year ago!  Not sure how to tell you how I did this one, but with a little creativity and an hour of nothing better to do, I came up with this!

I always keep the left overs and make little things here and there...so I though I would share a few simple ideas.


FLOWER VASE


PENCIL HOLDER


CANDLE/VOTIVE HOLDER


Although the diameter is a bit different, the construction is basically the same...

1-cut the screen to length and width

2-with a small pieces of wire, pull through holes and twist to secure.


Just make sure the diameter fits what you want to use it for.  For example, I cut a water bottle down to fit inside this one to hold the pencils


Tuesday, April 10, 2012

DON'T OVERLOOK THAT OLD ARMOIRE YET

Most of us have one, an old armoire we really don't need anymore taking up space in the basement...I know I do!  Although most of us have moved on to the flat screen t.v.'s we are always still in the market for more storage, right?

I have a mudroom reno coming up in the next few months of my own and have been brainstorming ways to incorporate an armoire into the space to use as extra closet and storage.  I still have not figured out why it looks like I have 8 kids whenever I walk into the mudroom when I only have 3!

Anyway, I recently refinished an armoire for a friend who needed more storage in her beautiful home that does not happen to be overflowing with closet space.  They have the flat screen over the fireplace, but decided to use an old armoire that they had in storage for the past few years, add shelves inside and  put in her living room to hold blankets and toys...turned out super cute!

BEFORE

AFTER


Here are some other great ideas that I found on pinterest.  So many ways to use old armoires or hutches in a more purposeful way.  From a craft center, computer station, pretty storage in bathroom or closet or extra pantry storage space.


sewing armoireAn organized armoire for additional closet space.armoire - BHGlaundry armoireCraft Supply Closet from an ArmoireSimplest armoire

armoire pantryArmoire as Bathroom Storage!!!

Sunday, April 8, 2012

FROM SERIOUSLY UGLY TO SUPER COOL!


I know this was originally a sad looking dresser and nightstand set, but it was solid wood construction, dovetailed drawers and had such great character.  I'm a sucker for curved drawers! So glad I didn't pass it over!


It had lots of little dings and imperfections but after 800 hours of TLC, it turned out pretty great:))

I'm not kidding about the 800 hours either... 

FOR SALE!!


Tuesday, March 27, 2012

DESK REDO

Just finished up this piece for a client. I am so glad she saw the potential in the otherwise boring and ugly desk...I love how it turned out, very simple but very pretty.


The dreaded before picture.  It was very dated, but had nice legs, great drawer space and functioned perfectly.  MOST of it was in excellent shape.


The part I was not happy with was the bottom side.  NOT in good condition!  Luckily this piece came with a hutch that I didn't want to use but had some nice, reusable trim pieces.  I decides to take the trim from the hutch and trim out the entire base of the desk.


After I measured and cut my 45 degree angles, I used wood glue and my little handy nail gun 


After wrapping the entire base in the trim, I caulked and sanded.  I think this update the entire look of the desk and was a kind of blessing it had to be done in the first place.


Monday, March 26, 2012

HOW PATHETIC AM I?!

What's pathetic is how happy and excited I get when my hubby comes home with not 1, but 2 brand new sanders for me, totally out of the blue!  Ok, I may have lead on that I needed one by walking around for 3 days crying about how sore my arm was from hand sanding because mine died on me and I was to lazy to run to Homey D...but still, I didn't ASK!

It's kind of sad that I would rather have a new tool than some flowers, but that's ok...right?!!


Thursday, March 15, 2012

FINALLY DID A PIECE FOR MYSELF

I have been so busy lately refinishing for other people, which I love, but that means my personal projects have been put on hold.  Finally, I decided to carve out a little time to do 2 pieces I have been hiding, to flank my fireplace.


So glad I was able to use this gold, greek key hardware on these pieces!

It's not easy to find 2 matching pieces, so glad I did.  Not loving the urns on top, but it is the only thing I have at this moment that I could use to "fill in" the space.  I love the deep color against my creamy light grey walls.  


Tuesday, March 13, 2012

HOLY HOT PINK!

I love when people come in and know exactly what they want.  I am JEALOUS of people who come in and know exactly what they want!  It takes me 8 years to decide what colors to use in my own home so it's fun when someone walks in, says "I want hot pink" I pull out the color deck and they quickly point to a color and say "that one"....HOW do they do that?!

To be honest I was a bit nervous about the color choice but quickly fell in love once the second coat was sprayed on.  Along with the glass knobs...so pretty!

To 97% of the other people in the world who are "unsure", don't think it bothers me...I'm right there with you and totally "get it":)


Look at the curves in the top drawers!


Saturday, March 10, 2012

I JUST TOOK MY OBSESSION FOR CORAL OUT ON MY GIRLS BEDROOM

Most of the walls in my house are painted in more muted, earthy tones.  I really needed a pop of color on the walls in SOME room.  I have been loving and wanting to use the color coral somewhere, somehow and made a last minute decision to attack the girls bedroom.  Previously it was a very pretty soft, muted green color called Camouflage by BM, loved the color but just doing anything for the room.

I usually get pretty obsessive about the colors and it takes me forever to decide but I just picked the most "coral" looking one, which happened to be "Paradise Fruit" by BM.  It turned out a little more "creamsicle" in my opinion.  If I had to do it over again I think I would pick something with a little more red in it but I was afraid of it being to hot pink and competing with their bedding.

Anyway, it's staying (for now:).  I have never painted a room this bright before and the girls LOVE it.  Ava said "the color made me sleep like a baby!"  Not sure how, but whatever works!  Right?!


I love making wall art for the kids room as much as possible.  This was a fun little
project just cross stitched on left over fabric freehand style.

Cute little owl made with leftover pretty fabrics I had


Love how the curtains pop with this color.  Didn't ever notice them much before.


I should do a tutorial on this cute and very easy project that kids can 
even do or at least help with.