PAGES

Wednesday, January 29, 2014

METALLIC GOLD CREDENZA

Although I do love how this piece turned out, the process was a tricky one for me.  This was the first time using Modern Masters in Rich Gold on an entire piece of furniture.  My client was looking for a very yellow gold for this credenza.  I aim to please, so I was on the hunt for a good week looking for and finding the perfect gold for her.  After a few sample tests, I happened to find what she liked, which was in a product I have never used before, but I was willing to give it a shot!

I know, kind cheesy to test it at the store, but for $40 a quart, I wanted to make sure I knew what I was getting!


I will be honest…I am a spray girl.  This product was too thick to spray, even with my largest needle and tip I was not getting the finish I liked.  I would have had to thin it out way too much and didn't want compromise the metallic nature of the paint by doing so.  I tried rolling it with 3 different rollers and it created millions of tiny micro-bubbles.  I tried 'wiping' it with a large sponge thingy but that took WAAAY too much off. So, I used the old fashioned method.  A brush.

I painted, and painted AND PAINTED!  I think overall it took 5-6 coats to get a really good and complete coverage.

I feel that this product acts almost like a velvet fabric, you know when you slide your hand one way on a velvet cushion it looks a little darker, but then you slide your hand the other way and it takes on a different shade and sheen…yeah, that's what this was doing with every stroke.  After trying to avoid it I just realized that I was fighting a losing battle and had to just go with it.

Like I mentioned, I LOVE the result and if I were to do it again, I would spray the base color, after I primed it, with as close of a color to the metallic top coat, as possible.  That way I think I would have needed less coats.

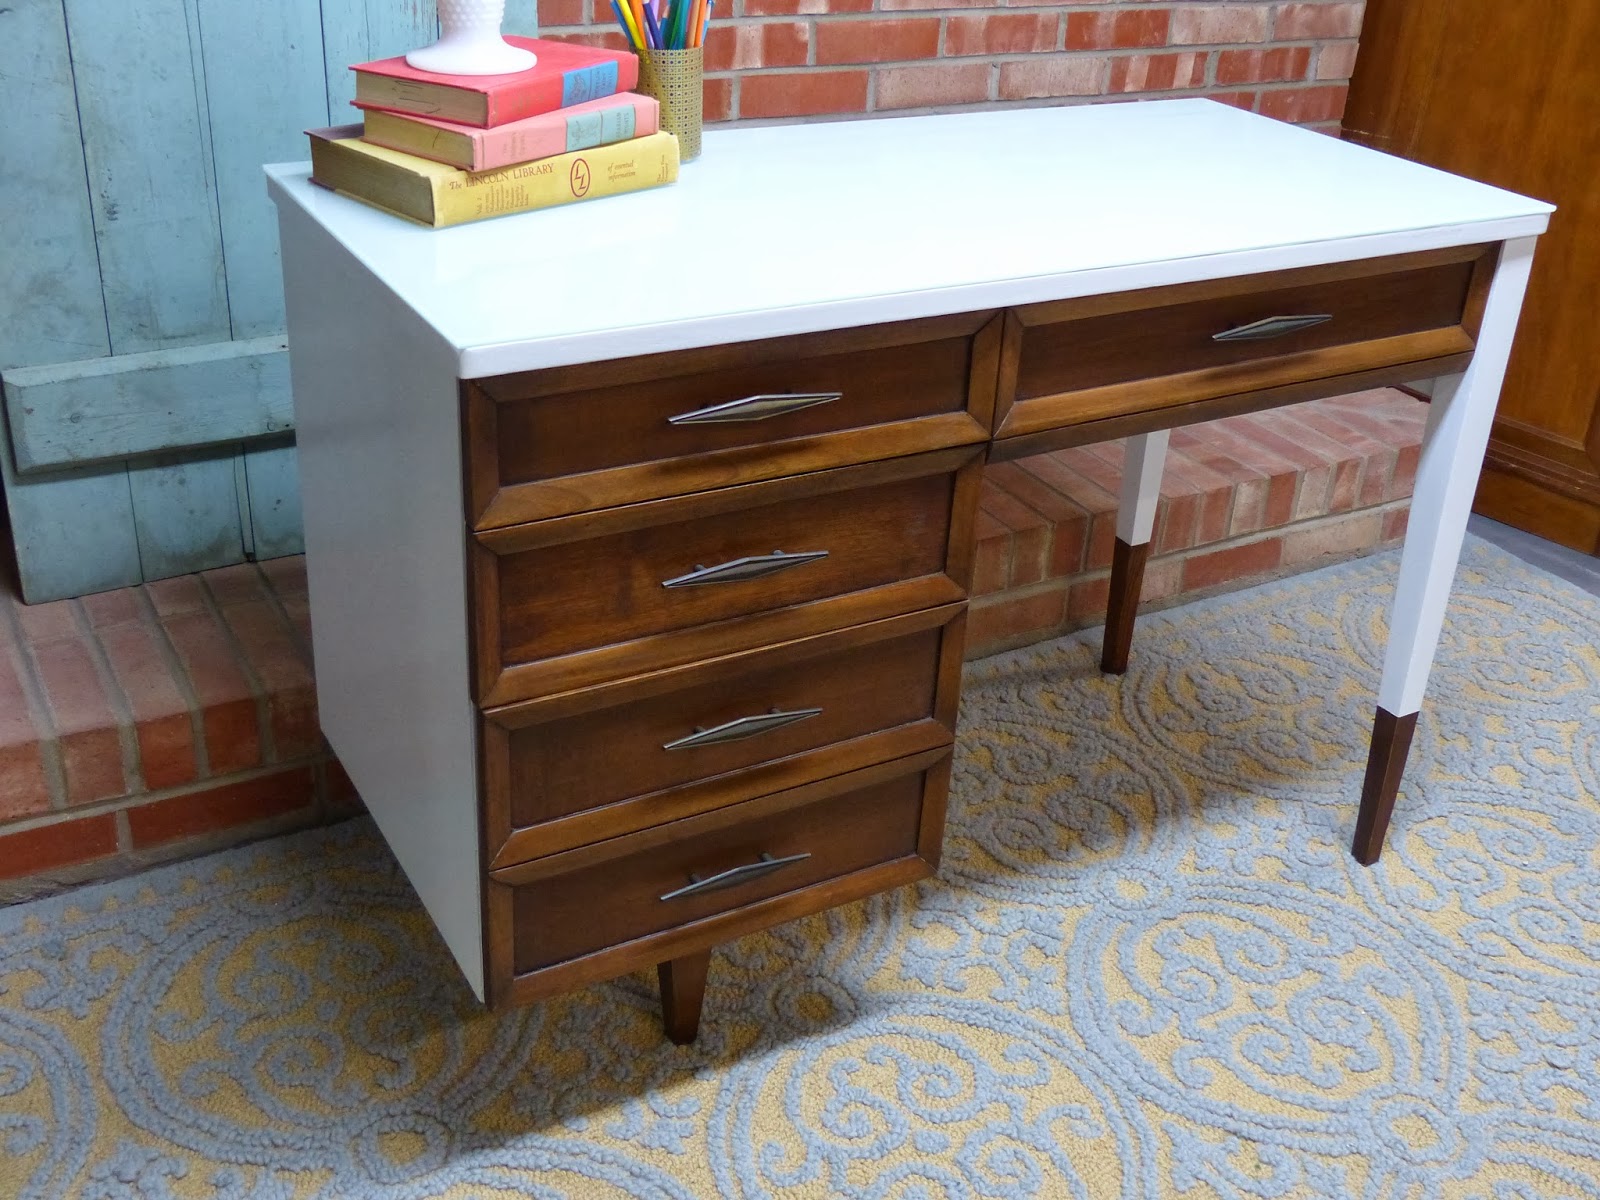
I ended with a few coats of super high gloss clear lacquer to give it the glamorous look and shine she was going for:)
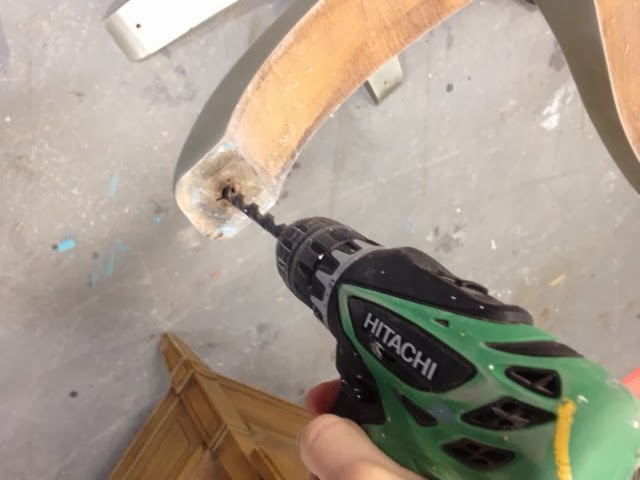


The Before


Tuesday, January 14, 2014

HELP FOR THE FLOPPY SHAMS IN YOUR LIFE!

I know a lot of people can pull off floppy looking pillows and shams with totally class but for some reason, I can not. And after spending a lot of money on bedding, nothing bothers me more than a bed with beautiful bedding, lots of comfy pillow, and messy looking shams!  In fact when I'm shopping for bedding, I don't only look for pretty and soft, I look for sham with least amount of floppage. I like 'em perky!

Unfortunately, for my mini bedroom makeover I am working on, I fell in love with bedding that have shams with some serious floppage! 

And if "floppage" ain't a word, it absolutely should be!  

Here I have a picture of the floppy sham on the right and the one I "fixed" on the left.


I've tried a few different techniques in the past to sturdy the ends and edges of shams, from folding over and doubling up the seam, adding stuffing to the edges, and once I even ran a dowel through the top to make it stiff. Nothing really worked and using a dowel was just really adumb. 

While working on another project using heat and bond interfacing, I thought…bet this would work to stiffen up my floppy sham situation.  So I did what I always do...totally dropped the project I was working on and started a new one:)

I wasn't 100% sure it would work at first but after testing it, I realized this was a super good idea and went to town cutting large chunks for the corners and longer strips for the top and ran it the length of the top from end to end. 

I didn't have enough for the bottom and figured it wouldn't really be necessary anyway, so just focused on the tops.  

I also did this to the thicker king shams and it worked beautifully.  Not so pretty from he back and I would probably focus a little more on making it look pretty next time, but nobody sees that part. 


Here I had to cut a small 'v' groove because the interfacing happen to cover the opening of pillow insert.

 SO. MUCH. BETTER!


I do have a post on my mini bedroom update if you'd like to take a look here.


Sunday, January 12, 2014

SEWING CABINET TURNED FUNCTIONAL AND MODERN DESK

I really love this type of makeover….turning something that you might not be able to use (because of a big fat hole in the middle) into something that is not only functional, but super cool!


This piece has so many things I like all wrapped up in one piece…2 tone look, dipped legs, high gloss lacquer and original hardware.


 The hardware is great, so kept them 'as is'.  I cleaned them but no deep scrubbing or chemicals.  I have ruined a few pieces in the past with too much cleaning, stripping off the beautiful patina.  Learned my lesson!


I had Vos Glass cut me a 1/4" piece of glass to size with a nice pencil edge. If you are in the GR area, I highly recommend them. Nice people, super fast and great pricing.

I simply sprayed the back with super white high gloss Rustoleum and just because I like to go the extra step, did a clear coat for protection.

It takes many coats to cover well. I wanted to make sure all grease and fingerprints were removed for a great finish so cleaned glass with denatured alcohol.


Wednesday, January 8, 2014

UGLY DRESSER MADE A LITTLE HOLLYWOOD GLAM!

I. LOVE. THIS. PIECE!  Even though I do not have a spot for it, I love how it looks in my house:)  But really, I would love to see it go to someone who has the perfect spot!


I was lucky to get my hands on about 10 of these guys.  They came from a fancy hotel in Chicago that was renovated.  They are beautifully constructed, solid, dovetailed drawers and a great price.  The catch…they needed new tops.  Marc cut and routed all new tops for me.  I really love Marc!


I have always loved the mirrored furniture 'Hollywood glam' look and thought this was the perfect piece to do that look to.  I refinished the dresser as I normally would but didn't have to fill in the old hardware holes because I was added the mirrored fronts…woot woot!


I had mirrors cut to size and had them drill the holes on center for me. 

Fitting the mirrors…looking good!


I love how the glass knobs look with the mirrored front drawers.


Thursday, January 2, 2014

TABLE UPDATE - METALLIC FINISH AND ADDING CASTERS TO TABLE

I had both of these pieces sitting around my workspace for years. My mom found the top for me and I totally forgot how I acquired the base.  Although I didn't originally plan on putting these two pieces together, the scale of the top fit the base nicely.


The base was an odd height though…too short to use comfortably as a dining table and too tall to use as a coffee table.  It would have made a decent height end table but 42" round, just too large.

I had these casters laying around and because I wanted to do a metallic finish on the table anyway, thought they would add nicely to the 'industrial' feel I was going for.  Not to mention they added 4"…which now would make the table a perfect height.

I removed the original T-nuts that were on the bottom.  Not only were they too small to accommodate my casters, I wanted ones that I could nail in for extra strength.


Using a drill bit that was going to make we work a little to pound the new T-nuts in, I drilled a hole.


Here I am testing the depth of the hole I am making. I made sure I only drilled down as far as I had to for my casters to screw in securely.


After hammering in the T-nuts, I added nails.  These nails here small so I did a little pre-drill for each.


Ready for casters!


These casters can lock so that the table will not move unless you want it to.


Here it is…all pretty and for SALE!  It is 42" round and 30" tall.  Sits 4 chairs very comfortably but can squeeze in more if you'd like. 

This is one of my many metallic finishes with a few clear coat of lacquer sprayed overtop for durability.

Asking $325


Wednesday, January 1, 2014

FINALLY…WORKING ON MY OWN PROJECT!

Although our bedroom wasn't horrible by any means,  I never loved the color of the walls and I was over the dark, scratched up bed and nightstand set we have had bought many, many years ago.

We have a big kitchen reno around the corner and although I am busy with working on everyone else's pieces, I KNOW that I will be burned out after the kitchen and needed to get this out of the way.


It's kind of weird to have one of my own pieces in my spray booth:)


This is stage one of many layers of metallic glazing that is going to happen to my bed.  Actually, I really don't know what I am doing to my bed…I will just layer and stop when I like it:)


I am a true believer that if you are working on a room (and mattress on the floor), you totally don't have to clean the room or make your bed:)

Special thanks to Marc for acting interested every time I put a new color on the walls and he acts interested:)  Still have NO idea what color I am doing...