PAGES

Thursday, June 28, 2012

IT'S HARDER THAN IT LOOKS...SPRAYING CHAIRS

All those spindles and swists and turns!  It's not really the sanding that makes it so challenging (although time consuming), it's spraying them just right to get into all those angles and turns without overspraying and creating runs.  Lots of light layers!

They turned out beautiful!  I hope my client is happy:)


Here is the before, in my sanding booth.  Used a combination on a hand sander and a lot of elbow greese.  These chairs were solid and you can see the potential.

Tuesday, June 19, 2012

MY FAUX ZINC TABLE TOP AND REUPHOLSTERED CHAIRS

I didn't have time to do this but it HAD to be done!  Wish I had before pictures of the table and chairs but naturally...I don't:(  Just know that the paints and craft items my daughters use on this table have RUINED it.  Who knew acrylic paints could be so damaging.

I am pretty realistic when it comes to furniture and kids, wouldn't spend a ton of money on a table or expect it to not get dinged up with kids around, but I draw the line at "gross"... and it was super close!  When my son had a friend over the other day and went to eat lunch at the table I heard him say to his friend "um, yeah...lets go eat at the other table"!!  He was embarressed!  Not cool.

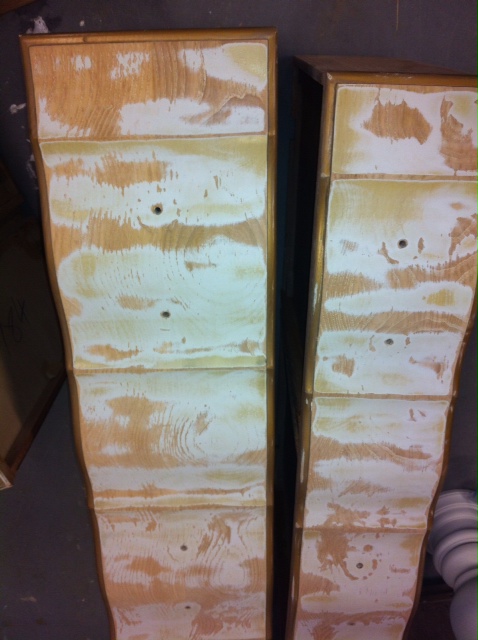
Originally I was thinking about stripping and re staining the top but didn't love the table enough to do all that extra work, so my quick fix solution was to do a faux zinc finish to the top.

After sanding it down, it still had a black/dark base from the original stain, which is what I wanted.  I used the technique that I did on my faux zinc letters tutorial and applied it to the top of the table, going back with a few different tones until I got the desired look.  Then sealed it with 3 coats of a lacquer clear coat.


Since I was on a roll, I decided to reupholster the seats with some left over fabric I had and loved from another project.  I applied a few coats of stain resistant spray stuff to the fabric, let's see if it works!


Thursday, June 14, 2012

GREEN APPLE...YUM!!

How cute did this turn out!  I love the simplicity of this piece, no hardware, clean lines and pretty little angled feet.  My client choose this awesome color to cordinate with here babies chevron crib set:)


The before...


Tuesday, June 12, 2012

MY SUMMER CHALLENGE AND BEAUTIFUL FRENCH PROVINCIAL BEDROOM SET

I am quickly realizing that this summer is going to be a bit of a challenge for me with the kids being home. My kids are 13, 11 and 8, so very self sufficient and can pretty much take care of themselves but I just feel so GUILTY when I am working!  The hardest part is the fact that they want me to run them around to friends houses, pick up friends or our neighborhood pool, which is fine but I always look like this....
So either I change my clothes 18 times a day or I ALWAYS look like a complete mess.  I swear some people who always see me like this and don't know what I do, think I am a wreck.  They are probably right. 


So here is a beautiful set that a gal and her husband brought for me to spray for her.  She picked it up at a second hand store and it is such a beautiful set!


The original finish usually doesn't pose a problem, but unfortunately in this case it was pretty chippy and needed a LOT of sanding, taking it down to bare wood in some places with a lot of time spent on trying to smooth out the surface to have as seamless of a finish as possible.  Lots of little drawers, doors and hardware bits and pieces.  


We decided to keep and spray out the hardware in a dark bronze finish to match the bronze iron bed that they had just purchased.  I also sprayed the screens inside the little night stand doors as well.  I just love how this turned out.  "Creamy" by SW is a great soft white color!


Tuesday, June 5, 2012

WHAT A TRANSFORMATION!

I am so glad I got a chance to transform this beautiful antique dresser for my friend.  It was her grandmothers and although she loved it and it held sentimental value, she wanted it to fit in with her own decor.

Originally I was going to spray the entire piece in this pretty shade of purple.  The old lacquer was really crackled and I wanted a smooth finish at least on the top surface, so I decided to strip it, which revealed a beautiful top that I didn't want to cover.  So I ended up staining the top and just painting the base.


Here is the before shot, pretty, but not her style.