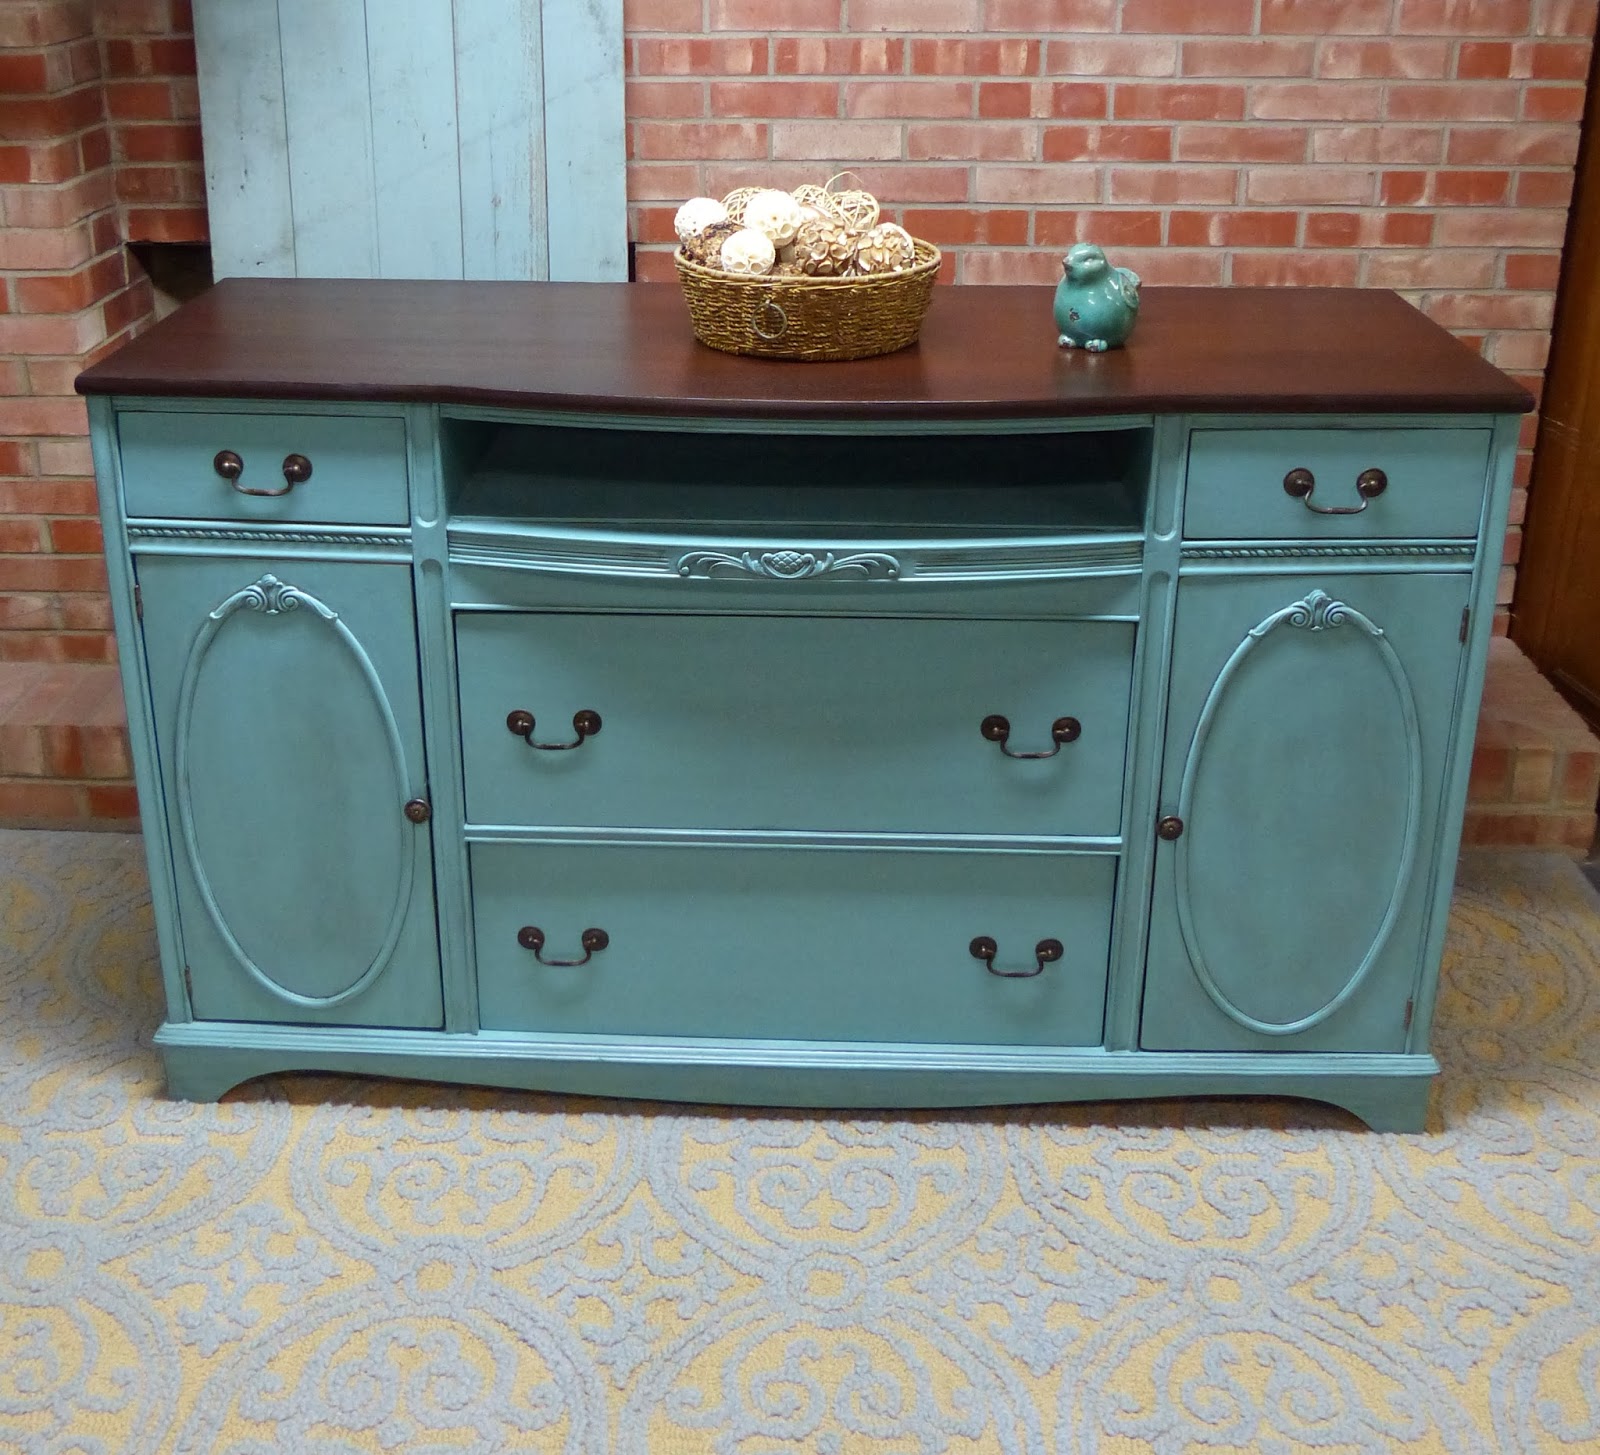
My husband came with me to pick up this piece. I could tell by his "you promised no more pieces that need tons of work" look he was giving me, that he did NOT want me to get this piece. Selfishly, ignoring his look and said "load er up"!
I have learned that sometimes, just because the price is right, it's not worth the time I would need to invest to fixing it up. Still, I couldn't pass on this one!
It really did need a lot of TLC. All the drawers were missing runners, the door hinges were stripped and bent, and it was simply not taken care of over the years.
The top drawer was missing a few parts so I thought it would be a good opportunity to frame in and finish off the top middle drawer, make this an entertainment center.
Thankfully the middle drawer, although in pieces, still had the original hardware on it. This was perfect since I had 2 missing piece on the bottom drawers. Seriously though…how do you lose hardware?
Stripping the top
It's hard to see in the 'before' photo but someone went to town on this drawer with a belt sander and took WAAAAY too much off on the edges. I ended up having to actually add shims to a few areas to build it back up. I use filler a lot but in my opinion, wood was needed to fill in that space and not just a ton of filler.
Finally stripped, filled, sanded and ready to be primed
I used my new favorite product…General Finished gel stain in the color Java.
After a few coats and it was dry, I covered the top so I could work on the base.
I added the inside panel it was sprayed because I wanted to spray the panel as well. This meant I would be doing some touch up after installing, but made sense on this piece.
After cutting and gluing the inside board, I needed my handy drill extension thingy to get into the tight space bc nail gun would not fit.
Bad photo, but just wanted to show that a little extra work, like filling in the seams can make a piece look so much more professional.
Ready to be glazed!
After glazing and adding a few coats of clear lacquer, she's ready to go!


I never would've thought to add shims! You're genius.
ReplyDelete