PAGES

Thursday, March 8, 2012

I LOVE MY JOB!

I really do love my job!  I love transforming "so so" pieces into something beautiful!  And I absolutely love this set!  The style is called "Bali Hai" and I have been wanting to get my hands on pieces like this for EVER!!!!  Never dreamed I would be so lucky to get a entire matching bedroom set.

I had this set for about a whole hour before a lucky girl, who I recently refinished a piece for, snatched it up!  She wanted it refinished in a high gloss black...I think she made a great choice:)


Such beautiful detail on every piece.  Even the mirror, which attaches to the long dresser and queen headboard have the great detail as well.

And it wouldn't be as fun without a lovely "before" picture:)


Saturday, February 18, 2012

Desk Redo


I just refinished this desk for a girl who has quickly become a friend...I love all my customers:))  She knew she wanted a light, dove grey on the desk and a pop of color on the drawers for fun.  She entrusted me to choose the colors.  I usually get a little nervous when people would say "just pick the color, I trust you", but I had a good idea of what she was going for and knew she would love this combo...and she did!

The before picture was simply... ugly.  It had these large decales on the front of the drawers that were doing nothing for the desk, taking away from the other great details and not allowing for a bit of  modern, sleek look we were going for...off they went.

I typically like to keep original hardware but not only were these handles just "so so", 2 of them were missing...off they came.


Here is the desk with the decales off and because I did not know at the time what I was going to do for hardware, just filled it in...along with the nail holes from the decales.

I love how the desk turned out!  I used a lacquer by Sherwin Williams called "Grey Cloud" for the desk and "Cloudburst" for the interior drawers.  I also sprayed a chair I had the same color as the drawer knowing she would love that too.


The glass knobs give it a pretty touch (Home Depot...$4.00).  And I love mixing the vintage look of the desk with the very modern chair. 


 The beautiful details and the bobbin legs really popped out after is was painted.


Wednesday, February 15, 2012

My Master Bath Renovation


I've had some very flattering people tell me I should do some posts on all the work that has been going on around my own home this past year and half.  Some of you know that we have built a few houses in the past, but this time around, after selling our home, thought it would be a good idea financially and  "fun" to renovate again...I was wrong!  Instead of diving in, taking out loans and blowing the place up, we decided to go room by room, pay as we go.  Which is probably a good idea.  I guess. 


I kind of compare each project/room to having a baby...your so excited to have it happen (find out your prego), picking out all the fun stuff for the room and deciding what direction you want to go in and all the things your going to buy and do (painting baby's room and picking out strollers, choosing names), then your hot and heavy in the middle of it with your house a mess, running back and forth to the garage 8 million times to cut one piece of tile for the 5th time, ignoring your kids for an entire weekend and you just want to get it over with ( delivery)!  But then it's done and all over with and you forget about the pain and the hours spent and your in love!  Then before you know it, your ready to do it all over again.  


So here are few pics of the lovely master bathroom before we touched it.  I was so bad!  I tore the carpet up before we even signed papers, my sister MADE me!  We did all the work in this bathroom ourselves.  The ONLY things we hired out was the shower glass install and to mud the walls after we hung the drywall.  We are total DIY'er, but draw the line at finishing drywall!


Now,  I LOVE vintage things, but this was too much!  I have to say though, I was very impressed with the fact that this house even had a master bathroom, being built in 1962.  The sweet little old lady knew what she wanted and had it all!  It has more closet and linens than any house I have ever seen too.  HUGE reason I was able to look beyond all the ugliness and work ahead.


And before anybody gets mad at me for getting rid of the awesome baby blue, I did not throw them in the dumpster.  I gave them to Habitat for Humanity.  I bet they are still there if you want them:)


I took out this linen closet to make for room in the kids (main) bathroom on the other side of the wall.  I knew I was going to have a piece of furniture to use as a linen and tons of drawers/storage in the vanity, so was OK with that.


Whoever installed this tile would be someone I would want to hire!  I think he installed it as a sick joke, that whoever tried to remove it some day (us), was going to want to cry the whole way through it (we did)!  It was installed with wire mesh, the thickest cement and anything else he could find to made it difficult for us to remove.


We saved and reused the mirror.  Hey, if I can save $75...I'm gonna!


After a few long weeks and a couple new tile saw blades...Here is the finished product!


I love how the shower is still very light and open, but I wanted the wall high enough to cover parts and pieces...I have 3 kids that barge into all room unannounced!


 I searched forEVER for just the right dresser to use as my vanity.  Could not find a one piece unit.  When you have to tuck it into a VERY specific space, flanking 2 walls, it's not easy.  So I went against every bone in my body and had to order up some standard cabinets from Homey D ( that's slang for Home Depot) that would fit and still give me the look I wanted.  I love drawers.  I use doors for very few things...maybe just the trash can and taller items that will not go into drawers.  I knew my hutch had a set so wanted all drawers on my vanity.

I ordered them unfinished and sprayed them.  Marc actually had to cut them down about 2 inches to accommodate for the extra tall bowls that I fell in love with.


These next pictures of the top drawers cracks me up .  This is my husbands side and the next picture is mine.  Guys are so simple!

But I wanted to show this picture to let you see how my husband cut out and boxed the space in the top drawer for the plumbing.  I am not sure exactly how he did the plumbing. I don't ask too many questions sometimes.  I just tell him what I want and run.  But he had a plan and his plan worked:)

We can still use over 50% of the top drawers.

Here  is my drawer.  How do you like my inspirational "butt" picture?  It's not working:(


And See!  I don't paint EVERYTHING!!  I never intended on painting it either.  I love to mix new with old and painted pieces with wood.


I just love this fabric and had a little extra from the bench to add to this frame.


We used very simple, inexpensive marble for the main part of the shower and payed 1 million dollars for my 5" accent tile.  But I love it!  Very vintage crackle oval tiles with the prettiest blue/grey hue.

TIP...when it comes to grout (carpet too for that matter) I say go as DARK as you can stand!  That pretty white grout does not stay pretty and white for long.


Another little splurge.  I used the same patterned tile on the shower floor as I did for the "rug".  The little pencil tiles that I wanted to put around the pattern were SOOO expensive at the tile store and I am SOOO cheap sometimes. I ended up buying just one 12 x 12 piece of black marble and cutting it into strips and made my own border.  


 My pretty lights.


I love the colors in these pictures!


 If you do not have one of these...find a wall and put one up!  LOVE IT!


I added a pocket door here.  I am not a huge fan of pocket doors, but when necessary, they are great.  This way it allowed me space for the linen inside and a wall to hang a t.v. across from the bed.


Monday, January 30, 2012

Please...Someone let me paint anything this color for them!!


2012-NodLind2.jpg
Or maybe this color...
2012-nodjennylind.jpg
Or even this yellow...

\2010-05-violet_a_rect540

Aren't these fun and amazing colors!  Adding color to just one piece can add so much character to a childs bedroom or nursery.  

Thursday, January 26, 2012


LOVE

I love and envy how this lady can mix different colors, fabrics, textures together so effortlessly and make it look so good!

If you are like me and don't want your house to look like a page ripped out of a Pottery Barn Magazine, you need to check out her blog for inspiration!  She also has some great DIY tips and info.

http://littlegreennotebook.blogspot.com/

Pinned Image


Monday, January 16, 2012

Help for drawers that push in too far...


Every now and then I get a piece that has a drawer or drawers pushed in too far.  It is annoying and looks sloppy.  I am quite sure I did not "invent" this technique, but like to think I did:)


What I do is get a little chuck of wood, put a strip of wood glue on it and set it where you think is close the back of the drawer where it ends, but pushed a little forward so the drawer is sure to hit.


Slide drawer in and slowly push into place, carefully remove the drawer and add a clamp.  You may want to recheck after you clamp just to be sure of your placement.  

I always add a nail or two with my nail gun but I am pretty sure if you do not have that option, the wood glue will probably do just fine.


Nice and even:)


Monday, January 9, 2012

DIY Metal Letter Project


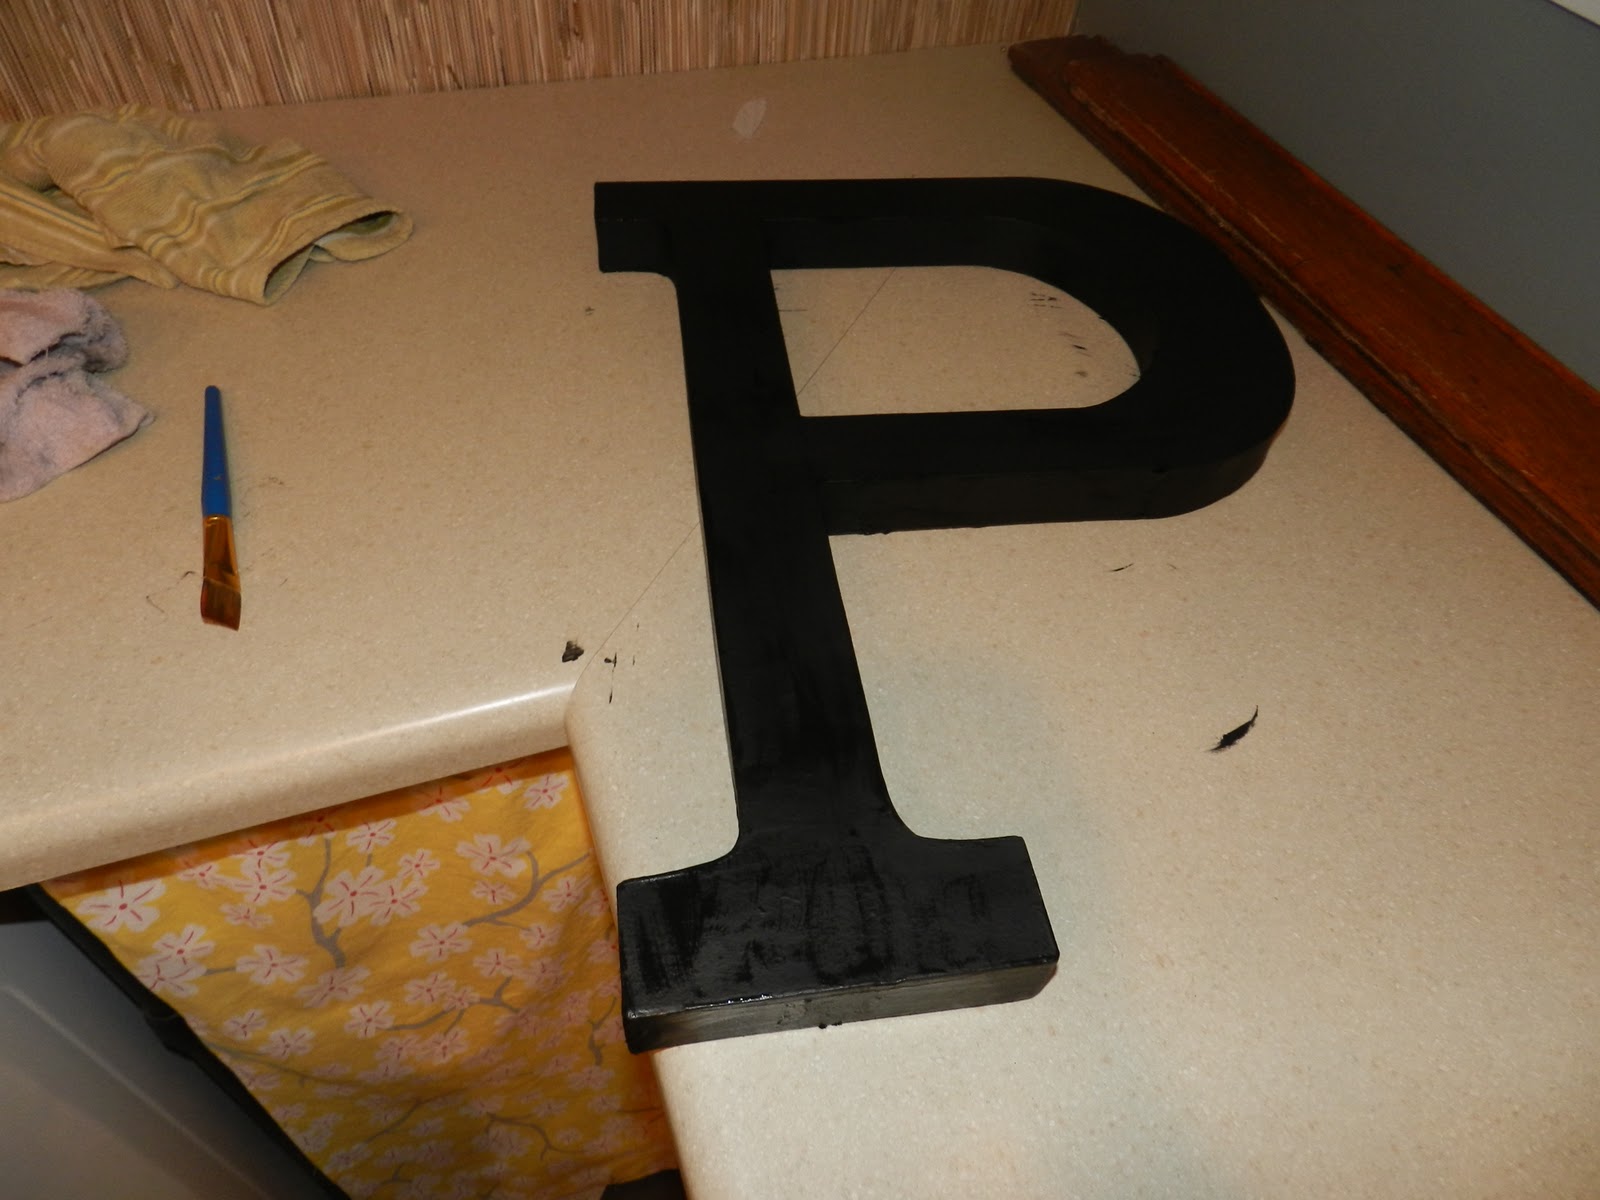
A while back I painted a large letter "J" for my son's room (his name is Jack:) metal look to it.  I loved how it turned out, but every time I walked in his room, I thought that letter just looked very lonely on that wall all by itself.  SO, I decided to make a "P" (last name).  I thought it might be fun to show you how it's done in case your feeling crafty.  I purchased these letters at Joann's.  They are 23" tall.


First of all, let me suggest painting your letters at the same time.  When you do a faux finish or any type of glazing, it is really hard to duplicate EXACTLY what you did the first time.  So I was prepared to  redo the "J" if necessary. 

I took the "J" down and kept it next to me for color reference.  No, we not have a ghost...my daughter snuck herself in this picture...kind of scary:)


I do remember I painted the base coat black, so I got started with that.  Paint 1-2 coats with the black acrylic and let dry.


Then I mixed a few of the silver metallic paints that I have together, making sure to add my favorite glazing (antiquing) medium.  I did about 1/2 dollar size amount of the shimmering silver, a nickle size of the gleams silver by Delta and a nickle size of the antiquing medium.  This medium basically makes the mixture spread easier and more workable.  I also really like this Delta gleams product because it adds a bit of shimmer to whatever your painting.  I did end up adding a tiny bit of water to the mixture as well, just to thin it out a bit.


Just start adding this mixture to the "P" with a nice fat brush.  Start with a thin layer, add more if you want.  You also have a minute to wipe off the paint with a wet rag if you don't like what's happening.  Just play around with the amount until you achieve the look you want.

I must have used the same formula as before because it matched the "J" perfectly.


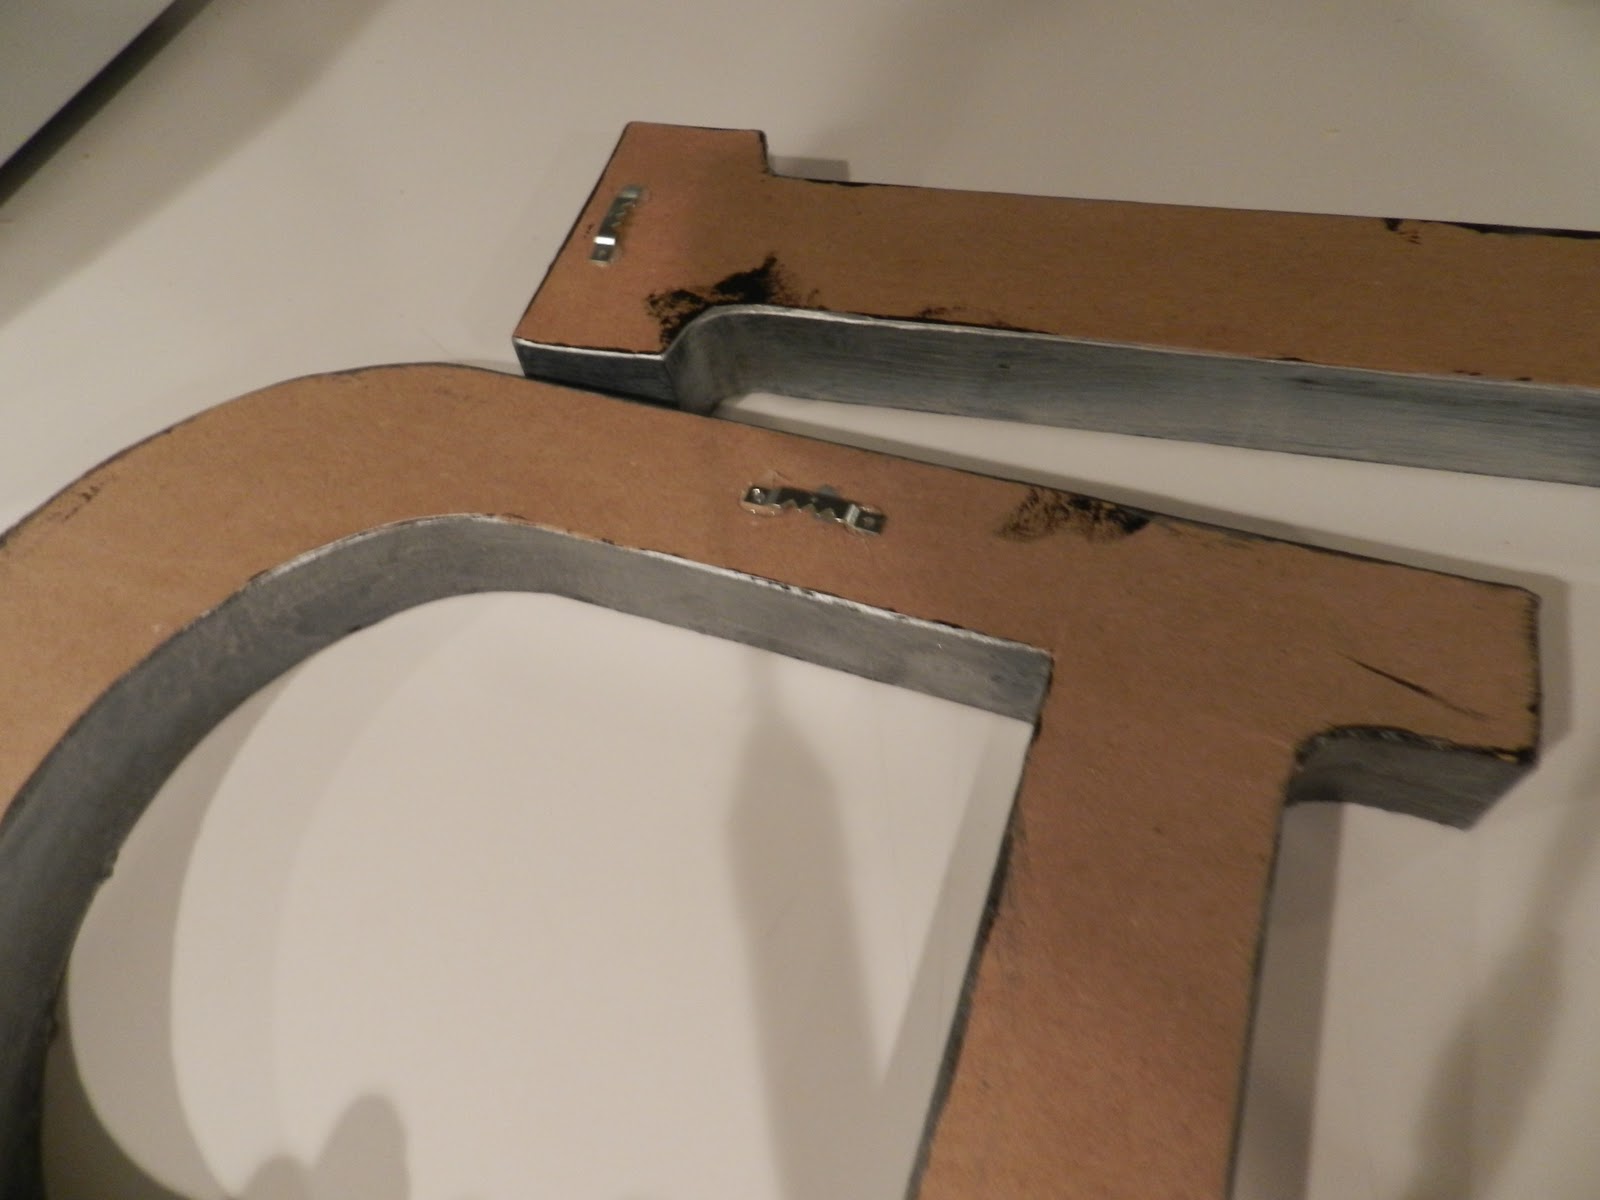
I hot glued a hook to the back of the the "P" to hang it, just like I did before with the "J".  These letters are light enough for hot glue to work on the hooks just fine.


Minus the hole in the wall I now need to patch...I think this looks much better!


Wednesday, January 4, 2012

I wanted to share with you, a few of my favorite designers...

I find myself checking out these same designers all the time.  I love simple design with bits of vintage, modern and glamour all in one.  I really like the design elements some of them bring without being too trendy and over the top.  Great sites to draw some inspiration from.

Instead of picking and choosing some of my favorite photos, I will just provide a link to the sites.  If you find some extra time, check them out!  But I warn you, your "just 15 minutes" on the computer might turn into 2 hours::))

Have a wonderful day!

www.willeydesign.com

www.glenngisslerdesign.com

www.ashleygoforthdesign.com

www.meredithheron.com