
Really just makes all of the hard work a little more worth it when I am in love with the finish too:)

I've had this idea of adding bamboo trim to a dresser in my head forever, but never found time. Actually, I have a LOT of ideas in my head that I don't have time for, just as I'm sure we all do.
I have always been a huge fan of Bali Hai furniture and really, anything with bamboo or rattan. Maybe it's the combination of modern, boho, glam, vintage and funky with a touch of elegancy that makes me love it so much! Whatever it is, because I am eclectic with my own personal design, it's always been a favorite.

 Finding the moulding proved to be more way difficult than I thought it SHOULD be. I mean, was I the only person in the world looking for this stuff?? Evidently I was.
Half round moulding would have obviously been a lot more easier to work with but that was even more difficult to find. I finally found a website called Beacon Hill. They did have half round but either only "1 left" or "not in stock" every time I checked or called, so I just went ahead and order the full round moulding fully aware that I had extra work ahead of me.
I needed a flat surface for the bamboo so that it would sit on the flat drawer. Because of the uneven nature of this trim, I could not get a straight cut with either my table saw or chop saw and really, these were not safe options anyway. Although an orbital sander would work just fine, I have a large belt sander that came if very handy. I do not use this tool often but when I do need it, I am always so glad to have it on hand.

Trying to cut 45's on my chop saw with this "bumpy" trim was a not working and truthfully, I wanted to quit after a few test cuts.
I ended up creating a 45 degree angle template using a clamp and a piece of wood after measuring with true a 45 degree angle.
I used this as my guide for the trim and because it was a soft wood and small piece, it took no time at all to sand it down.
In photo below you can see I set up one for each angle/side. Watch your little fingers!!

I nailed the trim in place. The angled corners were tricky but they all turned out pretty good. Nothing that a little filler couldn't take care of.

You will notice that the old hardware is still on here. At this point, I had no plans for the piece and was potentially going to use the old hardware. If I were to do it over again, I would have sanded and filled in the hardware holes, making it a little easier down the road.
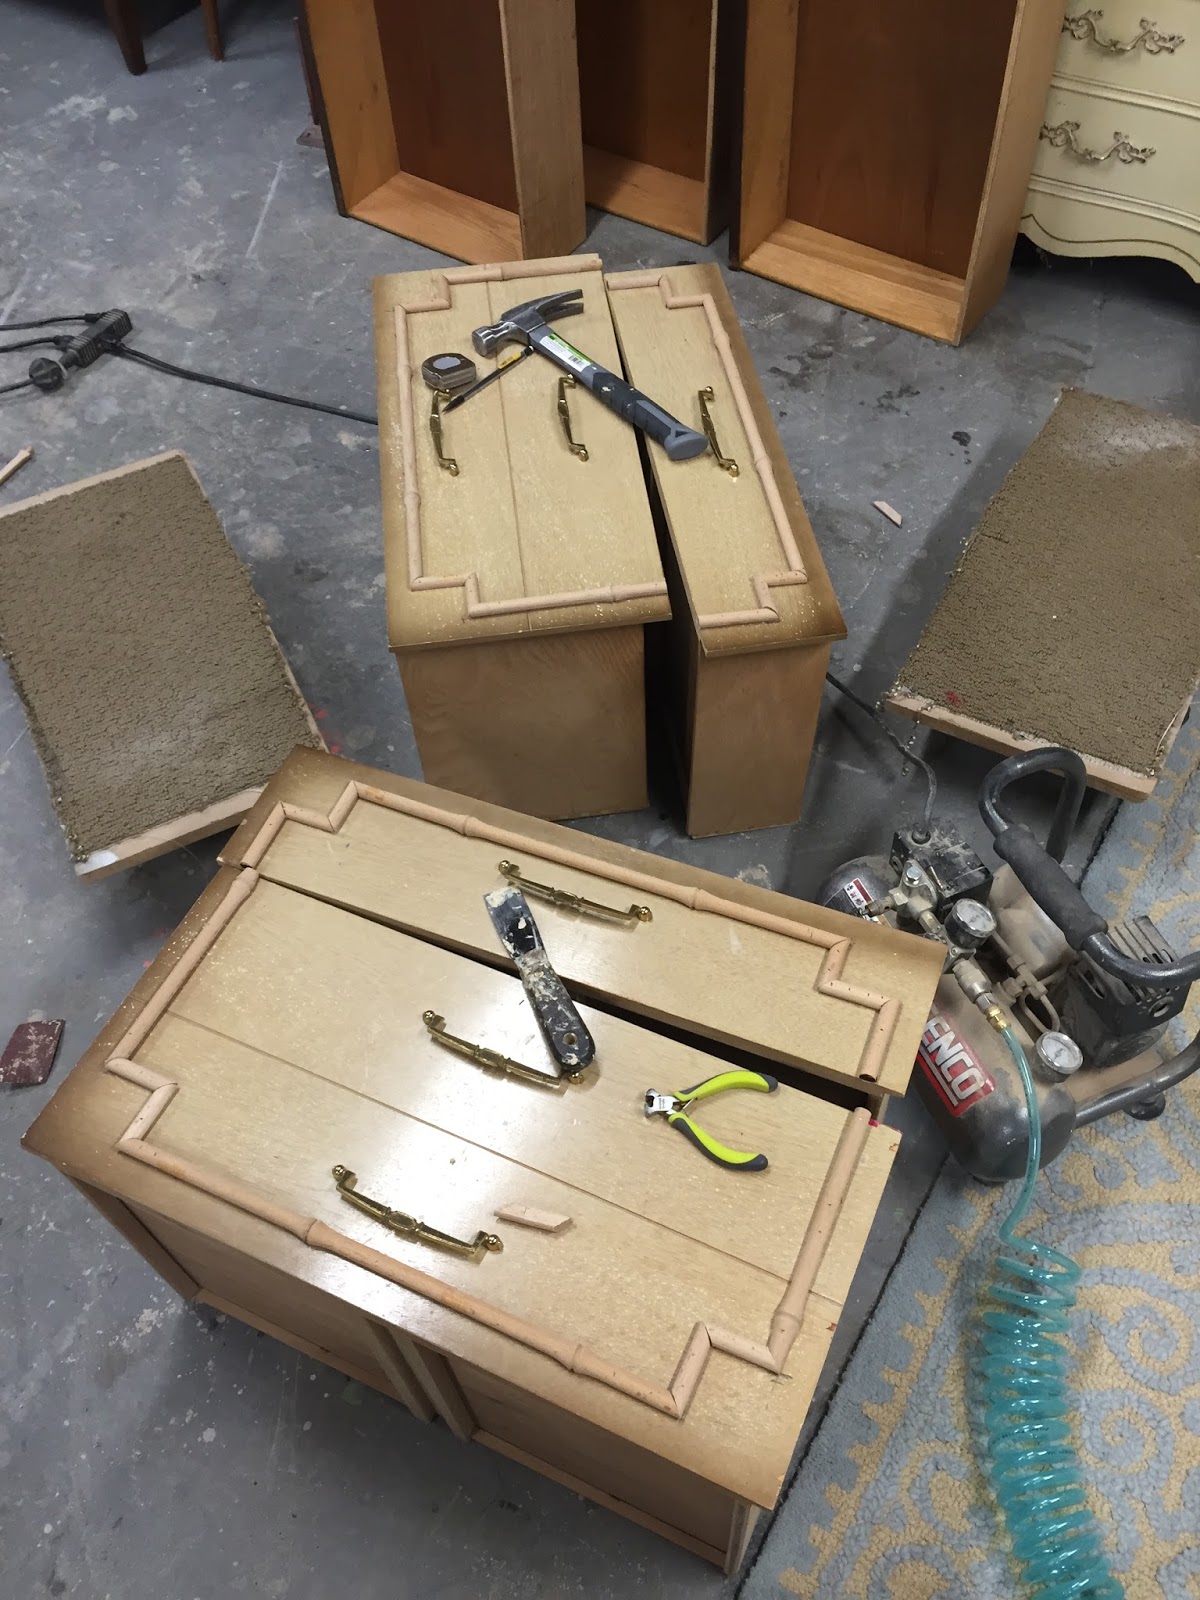
I filled in brad nail holes, large hardware holes and did a bead of caulk around the moulding to give it a very polished and finished look.

For fun, here is the "before" picture.

This is probably one of my favorite makeovers and so proud of how it turned out.
I can't believe I am saying this but I'd would really like to do this again and have another piece in mind:)


No comments:
Post a Comment