PAGES

Thursday, June 13, 2013

PRETTY GRAY BUFFET WITH LAYERS OF GLAZING

Although this guy was structurally sound, it was pretty beat up!  I am pretty darn good and fixing and patching but it would have taken forever to try and make this "perfect", so I went with the imperfections and gave it more of a rustic feel.


The original wood hardware make this piece look very Art Deco, which wasn't the look I was going for.  After removing the hardware, patching up any major spots and planing down the drawers to slide and fit nicely, it headed off the the sanding booth!


I really didn't know what I was finish I was going to end up with.  After a base coat of a pretty blue/gray color I did a black glaze.

I softened up the black glazing by doing a SUPER light whitewash over top of that then followed that with a soft champagne metallic glaze. Didn't really want it to be too metallicy, but did want a little something. Few coats of clear lacquer sprayed on and it is good to go!


I keep all of my old hardware and found the perfect pieces for this piece.  Love how it turned out!


Saturday, June 8, 2013

WHITEWASHED TABLE

Although I have done a whitewashing technique before, this is the first time I have done it for a customer.  She purchased this table on Craigslist for a great price.  It had 2 leafs and a pretty base.  Just needed some love.

She had a good idea and few pictures of what she wanted which helped tremendously!  She was  looking for a whitewashed, "driftwood" look and feel.


We did so a small sample board before I attacked the table, just to make sure we were on the same page.  TOTALLY recommend doing this for special or faux finished especially if you don't have picture as one person's "whitewash" may be a little different than another persons "whitewash":)

There are 2 leafs that came with the table, which I whitewashed as well.  I always do the leafs at the same time especially when doing any sort of faux treatment.  I actually put the leafs in the table (leaving gaps btwn) to work with it almost as one large table. That way you get the most consistency.

After I sanded, primed and sprayed the table in a dark gray base, I began the whitewashing.  I am sure there are many ways to do it but I like to use about %50 paint to %50 water.  You will also need a towel to remove most of the paint and I like to use a rough brush, like a chippy type brush.  A super nice, smooth Purdy brush will not give you the striations your looking for.


Dip the brush in the whitewash mixture just a bit, wipe most of the paint off on the rag and start your strokes.  Mixing it with water helps to keep it moving a little bit and have more continuous strokes.

After it dried a did a LITTLE bit more random whitewashing over top, just for extra depth.


Let dry, few coats of clear lacquer and it's done!


Monday, June 3, 2013

CORAL FRENCH PROVINCIAL

I typically do not buy pre painted pieces to refinish but the current paint job on this guy, although not pretty, was actually done nicely.  Also, it was solid wood, had dovetailed drawers and pretty, pretty curves…it was coming home with me!

Obviously the current hardware would be first to go…


I knew right away that this was going to be a piece that I was not going to put on my site as a custom option, but to refinish and sell myself.  Not sure why or how I choose these pieces, I just know right away with random pieces.

As always, the hardest part was deciding what color to use.  I swore I would not be mixing colors myself anymore but here I was again… breaking my own promise!  I had a color in my head that I wanted and just added a little this and a little that until I achieved the color. Kind of a coral/salmon shade.


Instead of using the traditional French Provincial hardware, which was my first choice because I did have enough for this dresser, I really liked this hardware and wanted to do something a little different.

Because the hardware I chose had too much gold going on, I did spray them with a light coat of oil rubbed bronze, whipping %50  off right way, just so a bit of the gold was popping thru, highlighting them.


I really love this dresser!  My girls were a heartbroken when they saw it and knew it would not be going in their room:(  I hope I don't mess them up with always doing pretty pieces that they fall in love with and shipping them out! I am sure they will be fine:)


Tuesday, May 28, 2013

WEEKEND OF FUN! FOR ME ANYWAY:)

In all honesty, we really didn't do anything exciting this weekend.  Kids played with every available person and got out every possible outside toy…as they should!

I feel kinda bad though because hubby did a lot of work for me (or customers:) this weekend.

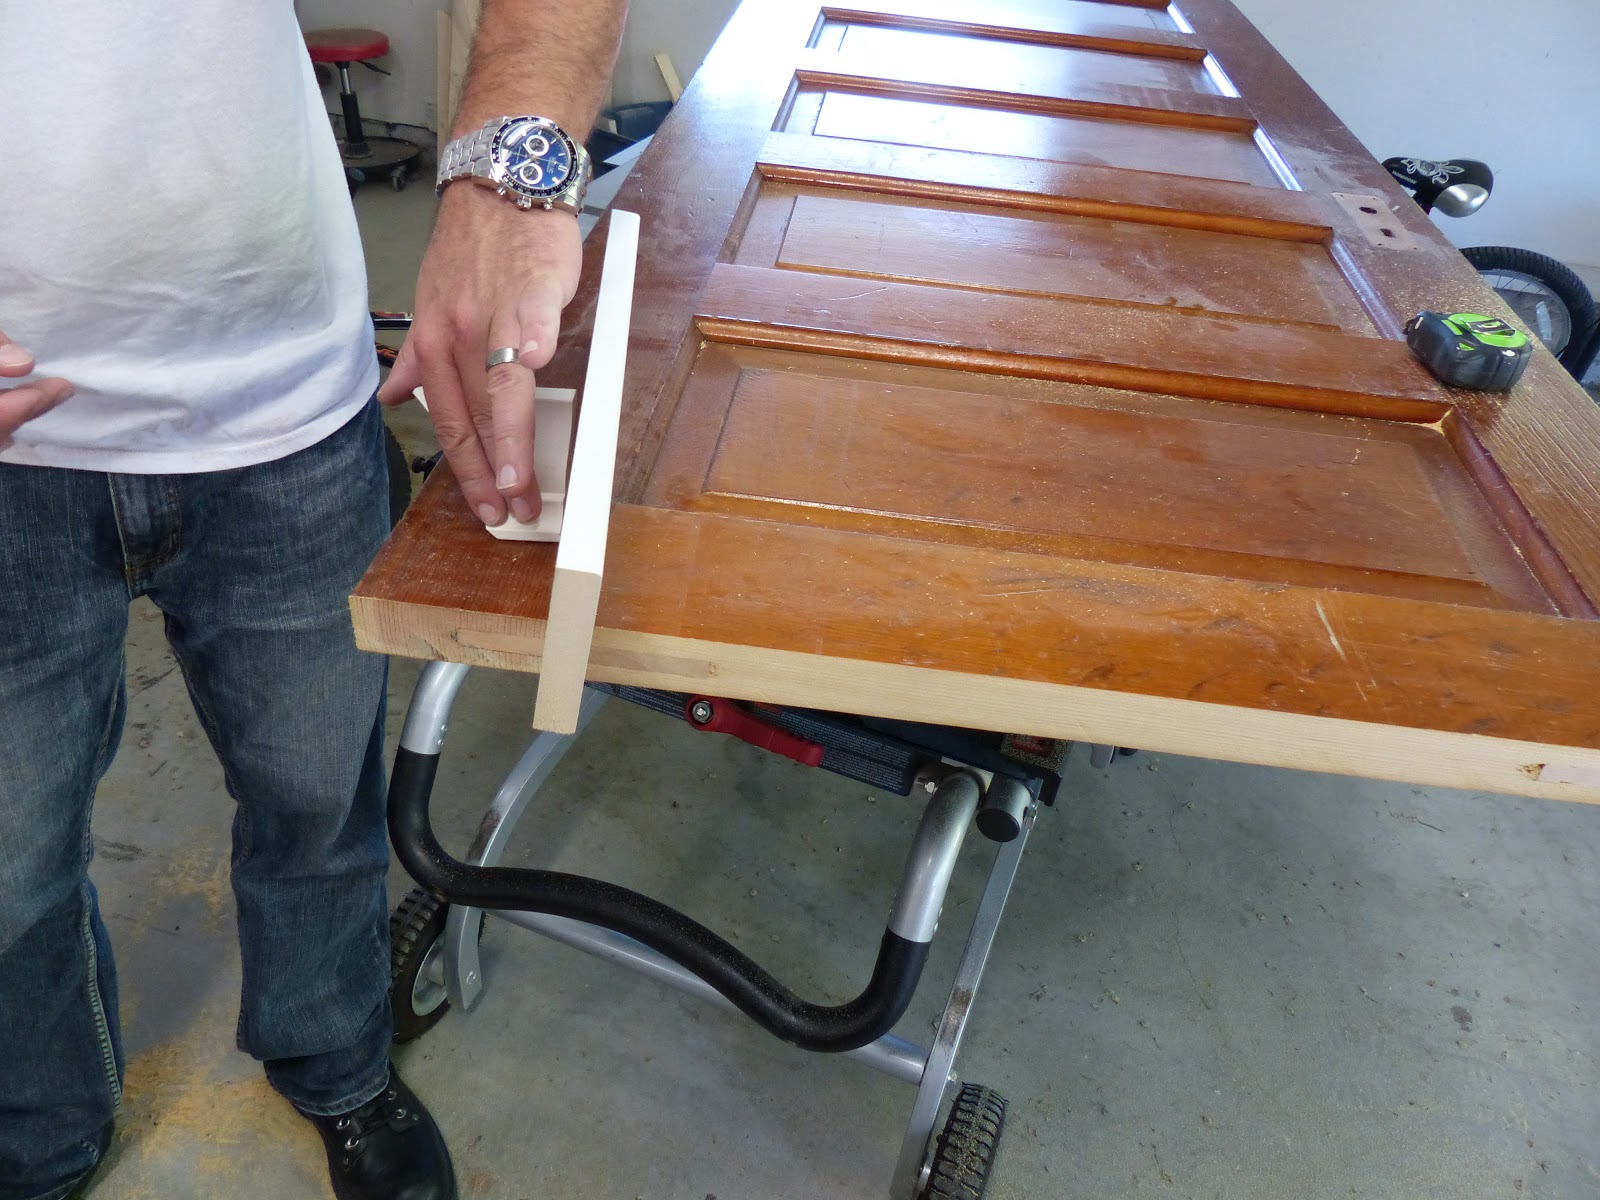
Made 2 queen size headboards out of old solid wood doors by cutting them down and added crown


These are going to be great!


Then we cut down this guy to make 2 matching nightstands, something I have a difficult time finding.


Patchwork was very necessary and am lucky that the middle top had the same detail on it as the side tops.  We (and by that I me "HE") cut them and other pieces of wood to fit.  We (and by that I me "I") will be patching up:)


And added feet to a few pieces!

These guys did turn out great!

Thursday, May 23, 2013

THE FUN AND FUNKY DRESSER!

This was the probably the most stressful and challenging project I have taken on in a long time (next to the grainy oak kitchen cabinets:)) but the end result was worth it all!

I was so nervous about someone putting their faith into my hands to "do whatever you want…I know I will like it".  That makes me nervous!

This piece is for a sweet and spunky 4 year old and mom wanted a dresser to match his personality.  I didn't have much to go on except I knew she liked turquoise, red, vintage, different, funky and wanted to incorporate the number "4" and letters "E" and "P", if possible.


I knew when she chose these other coordinating pieces for her other sons room to be this bright fun green color, that she was open to ideas, so that helped:)


Honestly, this is how it sat for about a week and I just picked at it here and there. I was really struggling.  I had a ton a great ideas all up in my head but they needed to blend and I didn't want it to look like a  "Sesame Street" dresser but have a vintage, fun feel.


I toyed with the idea of using mirrors on 1 or some of the drawers and maybe dowels for texture.

The ruler I was using to cut lengths of twine, which I didn't use either,  caught my eye and decided it would be fun to use somewhere…it became our number "4".


I basically just walked thru the hardware dept. at Lowes, finding a few items but most of the pieces came from my leftovers and "junk drawers" in my workshop.

Everything was heavily distressed and glazed for the vintage feel.


 THE BEFORE


Monday, May 20, 2013

FROM NURSERY FURNITURE TO "BIG BOY" ROOM!

Although I tend to focus on buying mainly vintage, antique or older pieces it doesn't mean that "newer" pieces can't be transformed just as beautifully!

This set was your typical nursery furniture.  It was decent quality so my customers wanted to keep it and have it updated with a new finish.


I am so glad she agreed to add the new hardware because that really helped update it even more!

Amazing what a new finish (and a LOT of work:)) can do!


Tuesday, May 14, 2013

THE SECRETARY DESK FINALLY FINDS A HOME!

As one of my customers and now friends said to me when posting this on FB, "I was waiting to see the fate of the french provincial secretary!"And I have been too!


I rarely have a piece sitting around in my inventory for this long (almost a year).  Although everyone probably thought…"oh, that's cute", nobody was in the market for a big secretary desk.  Until my friend Katie came along!

She said she has been looking for a secretary for a while for her soon to be craft room. I am so glad I held onto this guy for her!


 She chose the pretty soft green shade called Recycled Glass by BM and we did the hardware in my favorite finish by Rustoleum called Champagne.


The inside was a bit tricky getting to with my spray gun but it turned out beautiful!


Sunday, May 5, 2013

MCM CREDENZA UPDATE AND USING DECORATIVE ALUMINUM SHEETS

I was lovin this piece even before I did anything to it! In fact, I had it hidden in the corner in hopes that I might be able to use it for my upcoming kitchen/den renovation.  Unfortunately it was going to be to long for the space I have.  So, I had to let her go:(


 What I like most is that my customers loved the idea of integrating a sheet of this decorative aluminum, typically used for radiator covers, it can also be used in so many other ways!  I did a post last year about a few ways I have used it HERE .

They really like the "2 tone" look and we decided to strip and stain the drawers, door, base and feet as they were in excellent condition.  I ended up stripping the top too, just to get a perfect finish when spraying the lacquer.


Both Home Depot and Lowes carries this product.  I happened to purchase this from Home Depot.  It does come in 2 sized but naturally, I needed the larger, more expensive sheet.  the 3x3' is $30.


Either the gold or the silver would have looked great with this piece but my customers wanted the silver and this particular design…I think they made a wonderful choice:)


I was too lazy to go find the metal cutter so I used my scissors, which worked just fine, although I am sure I totally ruined them:)


We used the existing back panel that was behind the original wicker as the backing for the sheet.  I prefer to have a dark background for the aluminum so that you can see the detail.