PAGES

Saturday, April 27, 2013

VINTAGE GREEN DRESSER AND FIXING TRICKY TRIM!


My customer recently painted her master bathroom in this fun shade of green (Gecko by BM) and loved it so much she wanted this dresser in the same color.  Paired with my favorite finish for hardware, Rustoleum champaign, and it looks gorgeous!


It certainly did not start off so pretty though.  It not only needed to be refinished but the trim needed some extra attention.

You can kind of see in the "unfinished" picture that the top drawer has about 5" of trim missing.  At first I was going to "bondo" it, as it is a wonderful and very hard filler and I can usually shape it nicely.  I quickly realized that this being the top drawer and almost at eye level, I needed to get it as perfect as possible.


Had the customer wanted this piece distressed, it may not been a big deal to simple bondo it, but when getting a "perfect" modern finish, it wasn't going to fly!


Luckily the nightstand had a piece of trim that was cracked and I needed to repair as well anyway.  I decided to take that broken piece, which happened to be almost as long as the dressers missing piece and swap it out.

I did have to make a clean cut on the dressers broken trim piece first.


 New piece glued and pin nailed in place….


I then filled in the tiny gap and it looked like new!


So, now that I "stole" the trim from the nightstand, I needed to fix that.  I decided to use a chunk of dowel that was very close to the same diameter as the rounded trim.

SUPER close up picture of the dowel:)


Dowel is cut, glued and clamped in place! After is was "set", I filled and sanded.  This worked perfectly as well.

Thursday, April 18, 2013

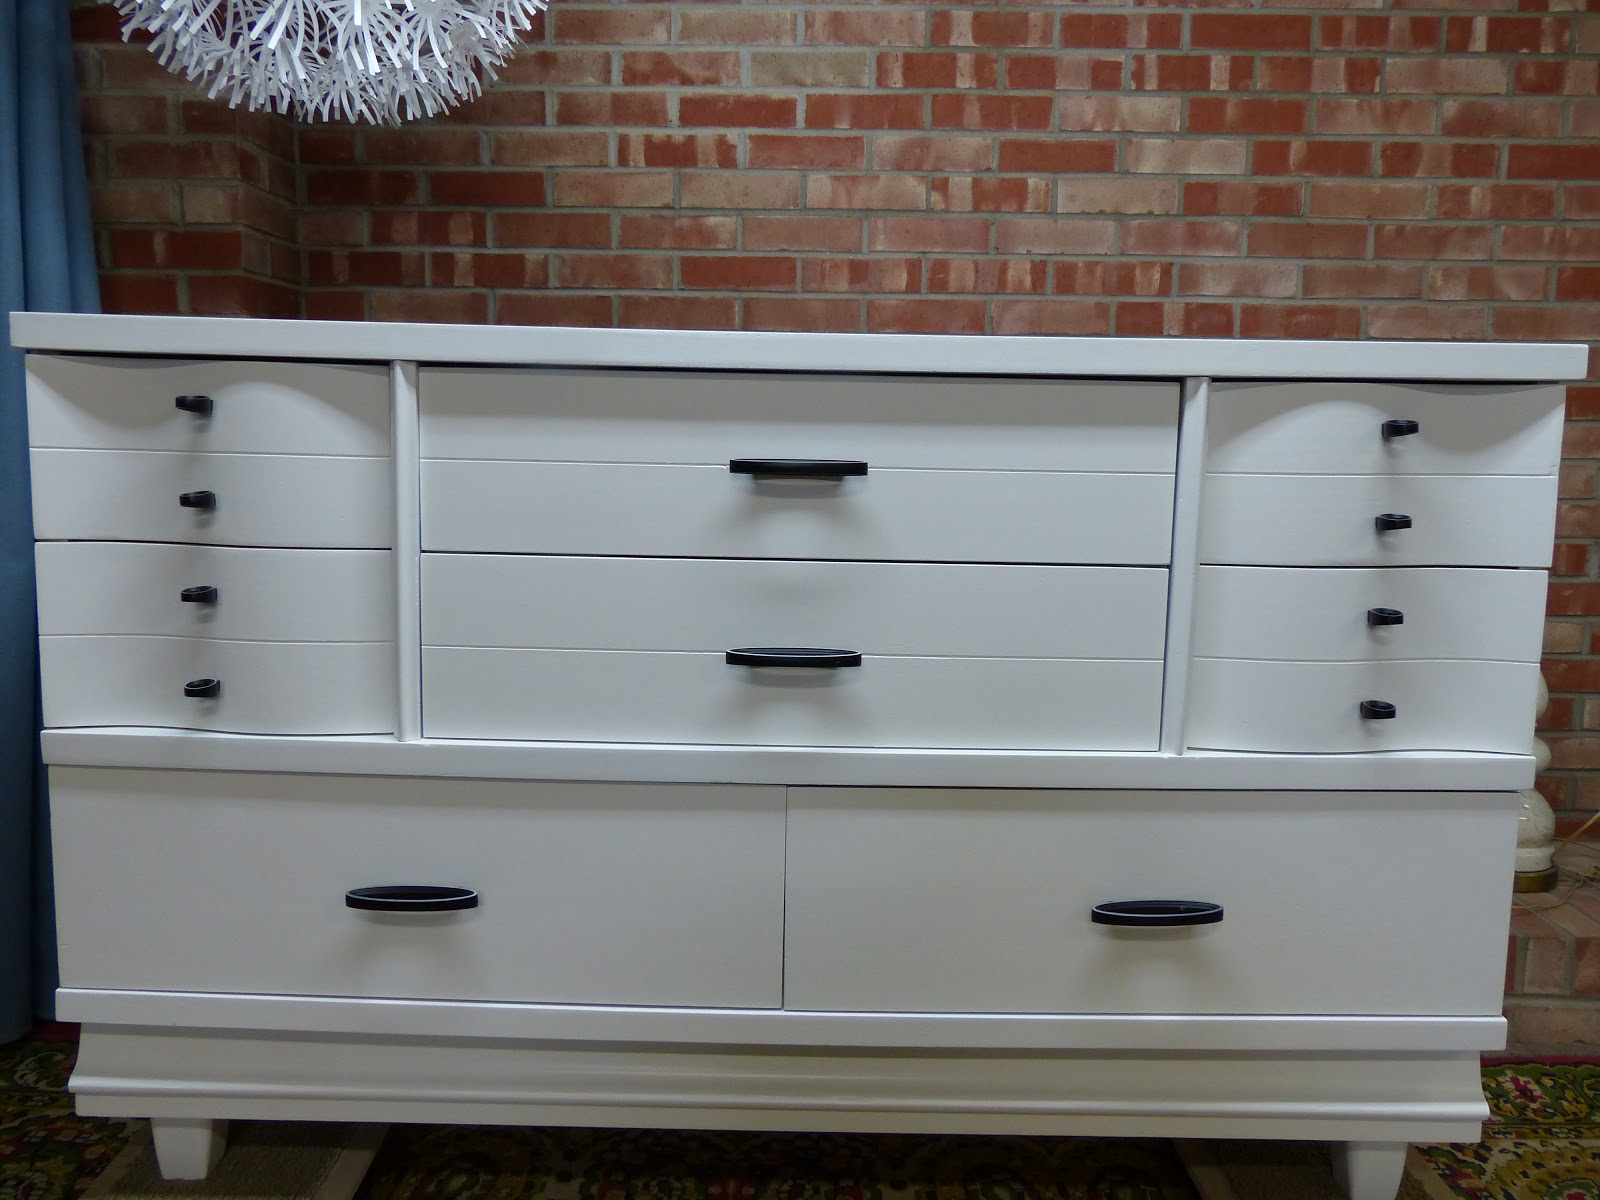
ANTIQUE BUFFET TRANSFORMED INTO A BEAUTIFUL CHANGING TABLE/DRESSER FOR BABY!

I had my eye on this guy for a while but the price was higher than I really usually like to spend, but after a few weeks I couldn't take it any longer.  I bought it.


Love the beautiful detail at the top


It was in pretty good condition considering the age.  I knew from the start that the top was going to need some extra work and was talking to my husband about my plans of repairing the veneer on top that was popped up in many areas.  He suggested we just remove it and put on a new top. Because I knew that he was going to take over this part of the project, I quickly agreed:)


Took a lot of work just to get it to this point, but it's ready to be put back together


Blocks were added for the cross bracing for the top.  They did not have it before but Marc is great about making sure it is done right.


After the top was glue and screwed, we used our very professional method of keeping pressure on the piece:)

At least the weights are getting used!  I have my workout area sitting smack dab in the middle of my workshop and have not used it in over a year!  I have even thought about using that "unused" space for furniture but I can't because I am going to start working out…on Monday:)


Of course a lot more work went into the top to get to this great finished product, but I don't have pics.

 I really wish I had a picture of the top before I sanded and primed it.  Marc did such a wonderful job and not only would you never know this is not the original top, it is actually much better than the original.


Getting a "modern" and PERFECT finish is so much more difficult than antiquing and distressing a piece.  I actually get all happy and giddy inside if someone tells me they want it "distressed and glazed"! Although I personally prefer the "vintage modern"look as well,  it takes so much work to get an imperfect and old piece to look new again!

The amount of filling and gluing and sanding and refilling and WORK I do to these pieces is work the gorgeous outcome!


Sunday, April 14, 2013

NEW AND IMPROVED POST ON DRILLING HOLES FOR NEW HARDWARE

I did do a post a few months back about drilling holes for new hardware.  Although it is good information, this technique I have been using lately, is a bit nicer because it allows you to safely mark on the drawer with no problems so you can measure, remeasure and double check your measurements:)

Trust me…you will want to do some double checking as filling in holes and redoing a dresser drawer is no fun.

We will take this dresser for example.  Even scarier to drill holes in a stained piece!  Although a pain, at least you can easily repair a painted drawer.  Stained wood, not as simple.  Repairing that is another post!

This particular dresser did not have or need hardware because if has a built in pull from bottom of drawer but the customer wanted hardware, so the customer got hardware!


Start by putting a strip of tape on the drawer where the hardware will be going.  Might have to move it a bit but not hard to get it in the general location.

NOTE***you may want to use blue painters tape if it is freshly painted as masking tape can pull off paint of a new paint job.


Find and mark your center point.

NOTE***If you have a knob, measure from the top and your done!


Measure your hardware (center of whole to center of hole).  My hardware was 6-1/4" on center. I found the center measurement on my ruler, which was 3-1/8", put it at my center mark on the dresser Make your marks for the holes at 0" and 6-1/4" (or whatever yours would be).

NOTE***I switch from a tape measure to a ruler at this point because I feel more accurate with it and it's easier to work with than a tape measure for me.

NOTE***At this point you do NOT have the measurement from the top, but hopefully an idea of the center. So make your mark large enough for the next measurement.


Next you need the measurement from top.  I usually center my hardware from top to bottom but you can do it where you want.

Make and remember your measurement from top.  Now do that EXACT same measurement on the other hole make.

NOTE***NOT all drawers are the same width.  Do NOT use the same measurement on each drawer unless you are sure that it will work.


Now after you have remeasured the center, the holes and the spread of the hardware. Drill!

The tape not only allows you to make marking but it also helps with any chipping or markings made by the drill.


Wednesday, April 10, 2013

TALL CHEST OF DRAWERS IN THE PERFECT LIGHT GRAY (IMO:))!

I am loving this light gray!  It's BM Gray Clouds. So pretty without having too much blue or being to "basement floor" gray, ya know!


In the before photo you can tell that is has tons of potential.  Great angled legs, base and design.


4 light coats...


Both the customer and I loved the original hardware, but not the original finish.  My favorite spray for getting a satin nickel finish is Krylon's Brushed Metallic satin nickel.

I am not really impressed with others I have tried.  They seems to scream "Hey, I was spray painted!"  When done correctly, this has a great, natural finish.


All done!


Friday, April 5, 2013

KITCHEN BEFORE AND AFTER!

Although grainy oak kitchen cabinets are not my idea of fun, I really enjoy seeing the transformation and helping my customers update their outdated kitchens.


I love me some good "before" pictures!


Check out the awesome deep grain in these guys!  Just spraying on the primer was NOT going to work. After cleaning, sanding, cleaning again and spraying on my first coat of primer, I discovered deeeeeep down what I knew was going to probably happen. I had to PUSH the primer into the grain, otherwise my topcoat would never fill it in and look good.

There are different ways to do this, I chose to use a combination of sponge brush and roller.  I actually used the roller without the handle,  and pushed it along the wood to push it into the grain, THEN sprayed it again.  Lots of work!


I refinished the doors and drawers.  I also sprayed out the new side panels that my customers purchased and cut to fit.  They did a TON of work themselves by painting the boxes, adding the new panels and tons of nice trim to the entire kitchen which I love because it give it a more high end look.


They choose a light grey for the perimeter of the kitchen called Cathedral Gray by Behr and the island was a darker gray called Antique Tin also by Behr.


Monday, March 25, 2013

ADDING HEIGHT TO DRESSERS IN 2 DIFFERENT WAYS!

I love being able to tweak a piece a little bit and make it work for a customer.  For example, I had these 2 pieces that my customers wanted for their bathroom.  Not to be used as a vanity, although we are still looking for the perfect piece, but because they have two dormers in their bathroom which were serving as wasted and they wanted to add these in there for extra storage. Brilliant!


These 2 pieces were exactly what they were looking for in style, storage and length but neither were tall enough for the space they wanted to fill.

For this guy, we added feet using a similar technique as below with the 4 x 4" blocks.  I did a (semi) tutorial about adding feet a few weeks ago, but that was MY method and although it very sturdy and worked great, Marc has since taken over the feet adding business and has a more efficient way of building it.  I guess we are both control freaks when it comes to certain types of projects:)

I promise to do a better and more detailed tutorial on adding feet in the near future as I have a feeling I will be getting more requests for it.


On the piece that already had legs but was still too short, were were in luck.  This guy had the feet attached to the base. Seen here again....


After taking off the back to be able to get at it better, Marc cut about 4" blocks.  Basically whatever length you cut, you will just need to make sure that all 4 legs bases are exactly the same dimension and  that the trim board or "skirting" will cover it completely. There are different widths of trim board. We used pre primed baseboard that happened be leftover from our bedroom/bathroom remodels.

He screwed the 4 x 4" feet base in from bottom and inside.


Then added a piece of wood in the front as framework for extra support for the trim board to attach to.


ready to get sanded!


Love how this turned out!  Looks like it was made like this.  Happy customer :)


This guy turned out great too.  Love what adding feet can do to change the entire look and the added height is great in some situations.


Friday, March 22, 2013

MC DRESSER WITH 2 TONE LOOK!

It's fun to do different techniques and color on pieces to make it more customized.  This piece in particular was a perfect candidate to make the base/legs a different color.


This darling piece is for a baby boy's nursery.  She wanted the base white, original hardware white and the trim on top drawers white.


Before I did the body color, I sprayed out the base/legs in white, let cure for a few days and then taped off the base well so I could do the body color in the blue.


Definitely a mistake not to use my BFF...frog tape.  I was out and being lazy.  The masking tape had a little bleed through and I ended up having to do touch ups.  I don't like touch ups!