PAGES

Monday, January 30, 2012

Please...Someone let me paint anything this color for them!!


2012-NodLind2.jpg
Or maybe this color...
2012-nodjennylind.jpg
Or even this yellow...

\2010-05-violet_a_rect540

Aren't these fun and amazing colors!  Adding color to just one piece can add so much character to a childs bedroom or nursery.  

Thursday, January 26, 2012


LOVE

I love and envy how this lady can mix different colors, fabrics, textures together so effortlessly and make it look so good!

If you are like me and don't want your house to look like a page ripped out of a Pottery Barn Magazine, you need to check out her blog for inspiration!  She also has some great DIY tips and info.

http://littlegreennotebook.blogspot.com/

Pinned Image


Monday, January 16, 2012

Help for drawers that push in too far...


Every now and then I get a piece that has a drawer or drawers pushed in too far.  It is annoying and looks sloppy.  I am quite sure I did not "invent" this technique, but like to think I did:)


What I do is get a little chuck of wood, put a strip of wood glue on it and set it where you think is close the back of the drawer where it ends, but pushed a little forward so the drawer is sure to hit.


Slide drawer in and slowly push into place, carefully remove the drawer and add a clamp.  You may want to recheck after you clamp just to be sure of your placement.  

I always add a nail or two with my nail gun but I am pretty sure if you do not have that option, the wood glue will probably do just fine.


Nice and even:)


Monday, January 9, 2012

DIY Metal Letter Project


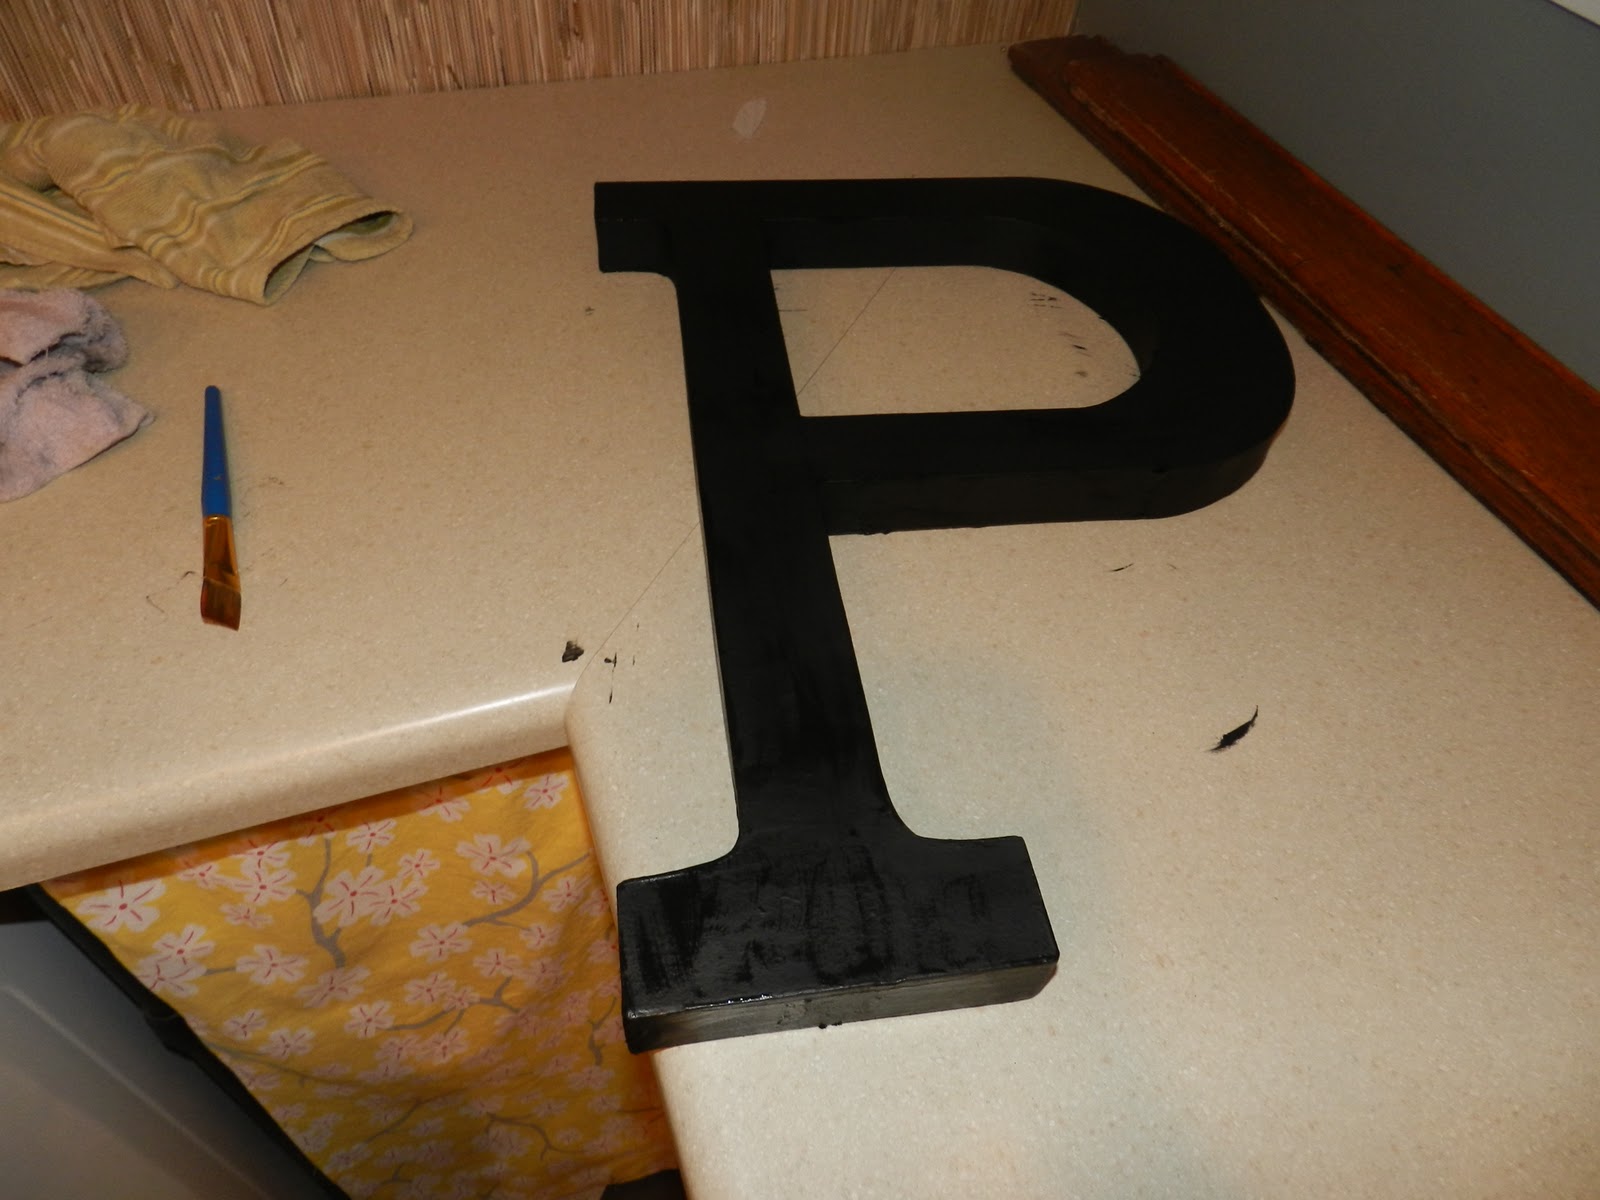
A while back I painted a large letter "J" for my son's room (his name is Jack:) metal look to it.  I loved how it turned out, but every time I walked in his room, I thought that letter just looked very lonely on that wall all by itself.  SO, I decided to make a "P" (last name).  I thought it might be fun to show you how it's done in case your feeling crafty.  I purchased these letters at Joann's.  They are 23" tall.


First of all, let me suggest painting your letters at the same time.  When you do a faux finish or any type of glazing, it is really hard to duplicate EXACTLY what you did the first time.  So I was prepared to  redo the "J" if necessary. 

I took the "J" down and kept it next to me for color reference.  No, we not have a ghost...my daughter snuck herself in this picture...kind of scary:)


I do remember I painted the base coat black, so I got started with that.  Paint 1-2 coats with the black acrylic and let dry.


Then I mixed a few of the silver metallic paints that I have together, making sure to add my favorite glazing (antiquing) medium.  I did about 1/2 dollar size amount of the shimmering silver, a nickle size of the gleams silver by Delta and a nickle size of the antiquing medium.  This medium basically makes the mixture spread easier and more workable.  I also really like this Delta gleams product because it adds a bit of shimmer to whatever your painting.  I did end up adding a tiny bit of water to the mixture as well, just to thin it out a bit.


Just start adding this mixture to the "P" with a nice fat brush.  Start with a thin layer, add more if you want.  You also have a minute to wipe off the paint with a wet rag if you don't like what's happening.  Just play around with the amount until you achieve the look you want.

I must have used the same formula as before because it matched the "J" perfectly.


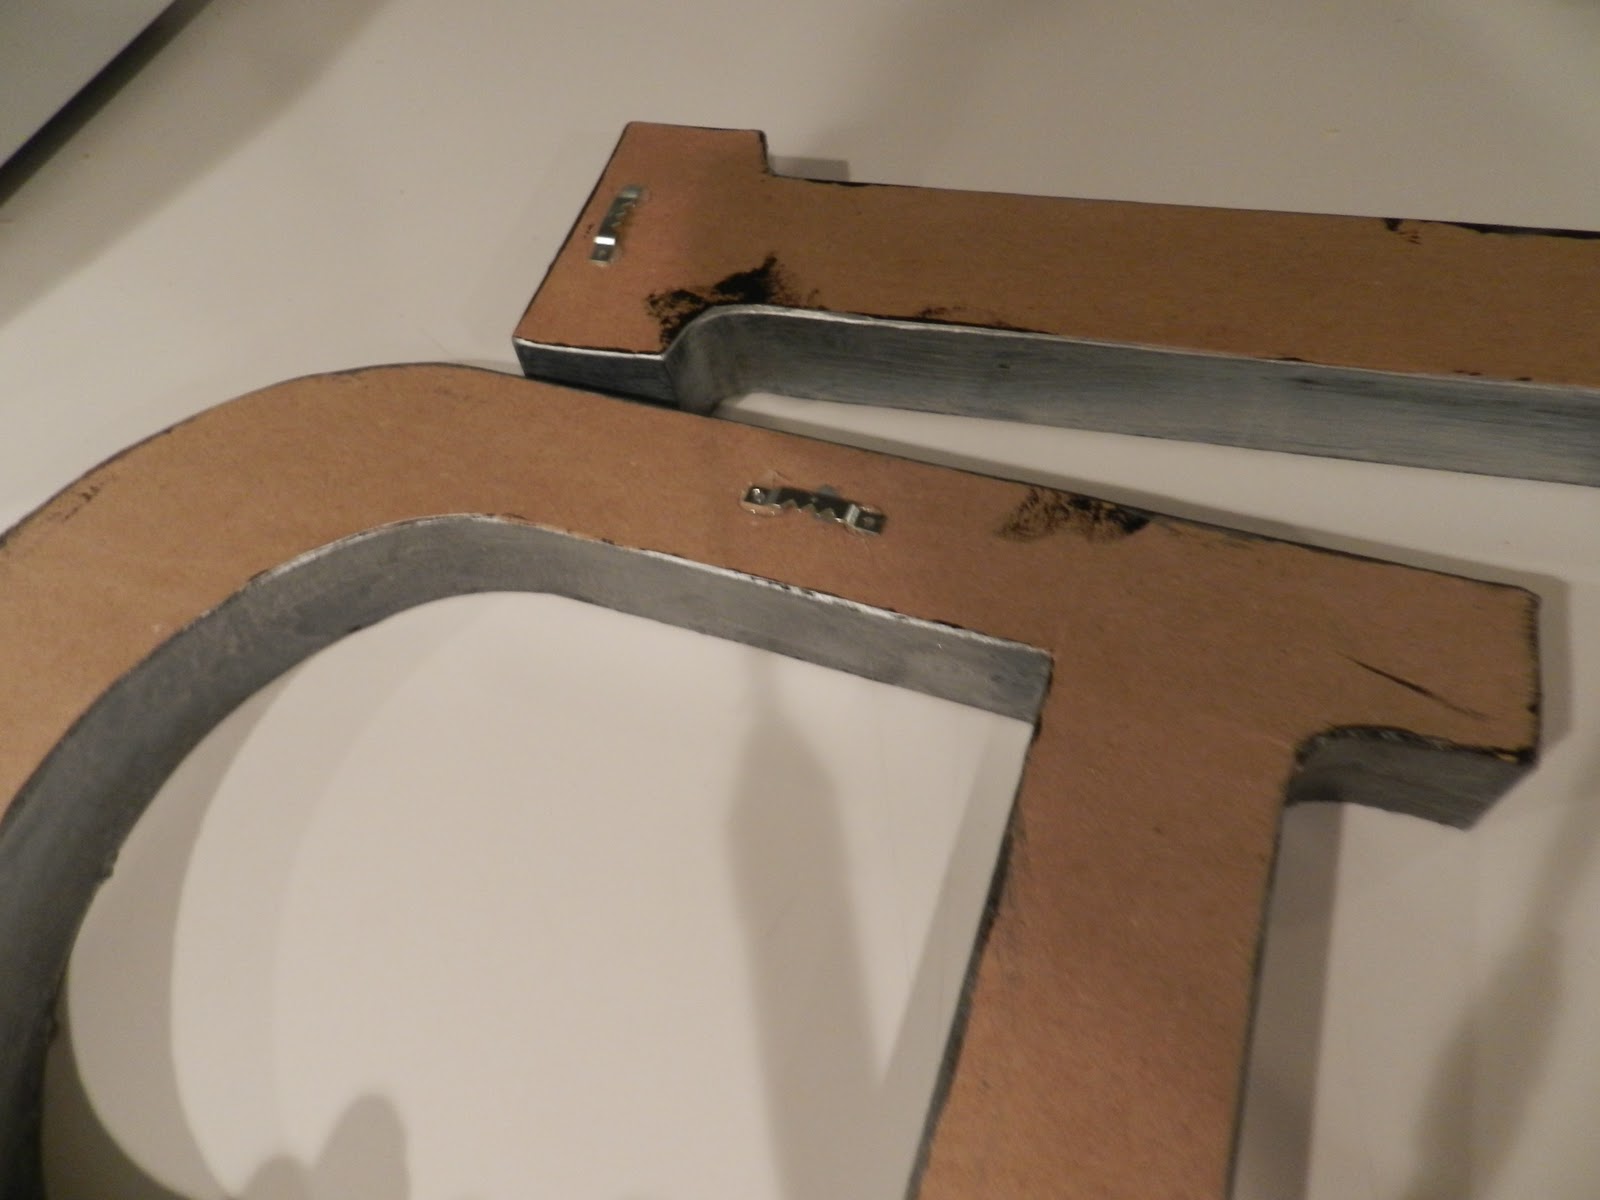
I hot glued a hook to the back of the the "P" to hang it, just like I did before with the "J".  These letters are light enough for hot glue to work on the hooks just fine.


Minus the hole in the wall I now need to patch...I think this looks much better!


Wednesday, January 4, 2012

I wanted to share with you, a few of my favorite designers...

I find myself checking out these same designers all the time.  I love simple design with bits of vintage, modern and glamour all in one.  I really like the design elements some of them bring without being too trendy and over the top.  Great sites to draw some inspiration from.

Instead of picking and choosing some of my favorite photos, I will just provide a link to the sites.  If you find some extra time, check them out!  But I warn you, your "just 15 minutes" on the computer might turn into 2 hours::))

Have a wonderful day!

www.willeydesign.com

www.glenngisslerdesign.com

www.ashleygoforthdesign.com

www.meredithheron.com

Tuesday, December 27, 2011

Old farmhouse table


I wish I knew the story behind some of the items I pick up, you can tell it was hand made piece by piece.  Although it was in good study shape it did need an update of some sort.  Pieces like this you can't just make completely modern and pretend it was never a very old rustic piece.  


I decided to strip and stain the top and paint the base.  Although I usually do not distress most of my pieces, sometimes a piece just needs it to keep with the look.  


I had to paint the numbers by hand because I didn't have any stencils that were large enough.  I have read about people loaning or renting projectors for projects like this from their local library, but since I seem to get inspired to do most my projects after 10:00 pm, I wasn't getting my hands on one:)


Instead of putting a coat of poly over the top, I used a natural wax to seal and buff it out.

I have in my "for sale" page if you would like more information.


Friday, December 23, 2011

My kids AWESOME gingerbread houses!


This year I stayed out of the way and let them go to town!  They loved that I was not all up in their gingerbread house business and let them do their own thing.  Not winning any awards... but they sure had fun:))


Sunday, December 18, 2011

Super Easy Pinch Pleated Drapes 


I wanted to share an easy way to fancy up your simple drapery.  I have used this trick on many of the drapes in my current and past homes and have always loved it.  


Here is an example of the last set I did... this is my son's room.  I had originally hung plain pocket panels that I bought at target over a year ago.  Not bad, but kind of boring.


Here they are after I added the pinched pleats.  Naturally my son has NOT and most likely will not ever notice::))  

Here are the supplies you will need...I usually get mine at Hobby Lobby, but I know Joann's and any fabric store will have them too.  You will need Pinch Pleated "stuff" material, pleater hooks and rings.  Make sure the rings will fit the rod you plan to use.  


First thing you will want to do is sew the PP trim to the top of the drapes, making sure that not only the right side, the side with the "pockets" is up, but that the pockets are on the bottom so that the hooks can slide up into them.  
Sounds like a no brainer, I know...but I have accidentally sewn it perfectly...with the pockets on the top!! 

One seam on the dotted lined at the top and the bottom.  
Now just start adding the hooks.  The bag of hooks I choose have 4 prongs per hook.  This bag also comes with a couple of single prongs.  These are good to start and finish with.  But you don't HAVE to.

Example I use...start with the very first pocket, add single prong.  

skip 3-4 pockets (whichever you choose, but be consistent)

add 4 pronger hook

skip the 3-4 pockets again, add another 4 prong hook... REPEAT...

at the end, add another single prong hook they provide.

here are a few pictures that might help explain what is going on...


Here is a tip I just discovered and started using myself.  I was going to leave it out to keep the confusion to a minimum, but I am sure you can handle it::))

Before inserting the hooks, add the rings and pinch them tight with a pair of plyers.  Helps make putting them on the rod SOOOO much easier!


The underside...what they look like on the rod


That's it! Probably easier than I make it look:)


Here are a few pictures of finished projects around my house....

This is panel I made from scratch in my dining room and living room


In my den.  This was actually a table cloth that I loved the pattern of and added the PP trim added to top.

 Hope this helped!  Let me know if you have any questions

Have a Merry Christmas!!
xoxo


Wednesday, December 7, 2011


Creating a Faux Antique Mirror and Mercury Glass Look...


I love mercury glass and the vintage look of an antique mirror, how the backing naturally etches off in places over the years.  I know there is a way to take a perfectly fine mirror look antiqued as well, this involved a particular acid, something I would like to try in the future.  Meanwhile, here is a very simple tutorial on how to create this look with a product call Looking Glass by Krylon.


I have always wanted to do this project and thought it would be perfect when I was refishing a hutch and needed somehthing a little different.


I am fortunate that I have this nice built in hutch in my dining room, but instead of an area to display all my fine china (right:)), what I really needed was a place to store extra items...girls crafts, my sewing machine and misc. items.  Yes, I know I have the whole base for that "stuff", but I need MORE room!!!! And these were basically items I did NOT want to be able to see. 


 Down to my spray booth.  Making sure the glass is very clean, you want to do 4-6 light coats, this spray comes out VERY thin and you will need many coats.  After letting it dry for a bit, I prepared a squirt bottle with 1/2 vinegar and 1/2 water.  The vinegar is the acidic agent that "eats" away at the paint.


 Working in small sections, lightly spray a bit on the dry glass.  Let sit for a few seconds.  With a soft cloth, GENTLY tap and LIGHTLY rub.   Take a minute to figure out how hard you have to press with the rag to lift some of the spray paint.  You may have to go back and add more paint if you take off more than you want, but no biggie... unless you have to make another trip to Hobby Lobby, which is the only place I could find this paint.  Also, Maybe look a picture or two of some antiqued mirrors for inspiration, but I just pretty much randomly squirted and rubbed.


 I really like how it turned out!!  The reflection of the "mirror" keeps it feeling open and actually a little brighter.  And you can't see my mess behind the doors.


Here is a quick tip on how I best acheived the "mercury glass" finish. Using the same supplies, spray a VERY, VERY, VERY light mist of the vinegar/water mixture.  If you squirt too heavy, it will just make all the paint run and not adhere to the glass.  After a light mist, start spraying the Looking Glass Paint.  It will run, you will have to do many coats too.  I kind of moved the jar around to help the mercury glass droplets go what I wanted it to as it rolled down.  layer on the paint until you have the look you would like.

Wednesday, November 30, 2011

Vintage Basset Dresser Before and After


Here is another fun before and after (fun for me anyway)!  I have so many neat pieces sitting around that I have collected over time, I really need to get pictures on my site to let people see what I have and choose their own color.  


I know black, brown and white are very popular "go to" colors but I truly think that a strong color, like a deep shade of grey can be just as neutral and timeless.


I'm really into gold lately and think it's making a comeback of sort.  I'm not saying I am going to change out all of my door hardware or bathroom and lighting fixtures, but for some vintage dressers and furniture pieces, I think it's classic and beautiful.   I prefer to keep the hardware "as is" on most pieces, but these were just not very pretty and after a good scrubbing, looked even worse...so I sprayed them.  I have a very thorough and precise process that I go use when painting hardware, they will last forever!

The below picture looks more "blue" but it is really more dark grey.  So awesome!

I plan on doing posts in the future about paints, primers, fillers, sealers and all different types of products in the whole painting process.  I have done SO MUCH research, investigating, experimenting and the best test of all... trial and error!  Looking for the most durable, "baked on" finish that you would buy from a store.  I have been given samples and used every product on the market ... from water based, oil based, ceramic, different lacquers and epoxies, to hopefully find the "HOLY GRAIL" of paint.  Many people who refinish furniture like to make others believe there is a huge "secret" in the whole process and do not like to share their secrets.  Not me, I have a big mouth and if I find something that works awesome, I love to share with others!!!  So stay tuned...


Tuesday, November 29, 2011

Secretary Before and After


Hello!  I do have a couple of good DIY's up my sleeve, but in the meantime, I thought I would do a quick post about this secretary update.  I LOVE me a good before and after!!!


First of all let me say... I CAN NOT BELIEVE I am showing my messy garage!  Anyway, Here is the desk before.  I decided not to keep the organizer on the top.  It was so shallow and with computers and other filing systems, just did not see the need for it (truth...I did NOT want paint it:))


 Instead, I decided to use some cork board I had left from another project and cover it in some fabric, which was actually a curtain I found at Target.  I used spray adhesive to attach the fabric.  This is a pretty strong adhesive but not so strong that it will ruin anything if and when you decide to remove it.  The cork was actually cut real tight and only need to be pushed into place, no tacking needed.


 I love the spot for a small computer or cell phones to hide cords.  I wanted to keep this thing so bad!  But could not find a spot for it.  I wish I could keep everything I painted!

Hope you have a wonderful day!!

Saturday, November 26, 2011

Adding Detail


I am not exactly sure what I saw in this big box of a cabinet, but thought it had potential for me to get creative and add some interesting detail on the plain front doors.  


It sat in my office (garage:)) after being sanded for a few weeks before I decided what to do with it.  


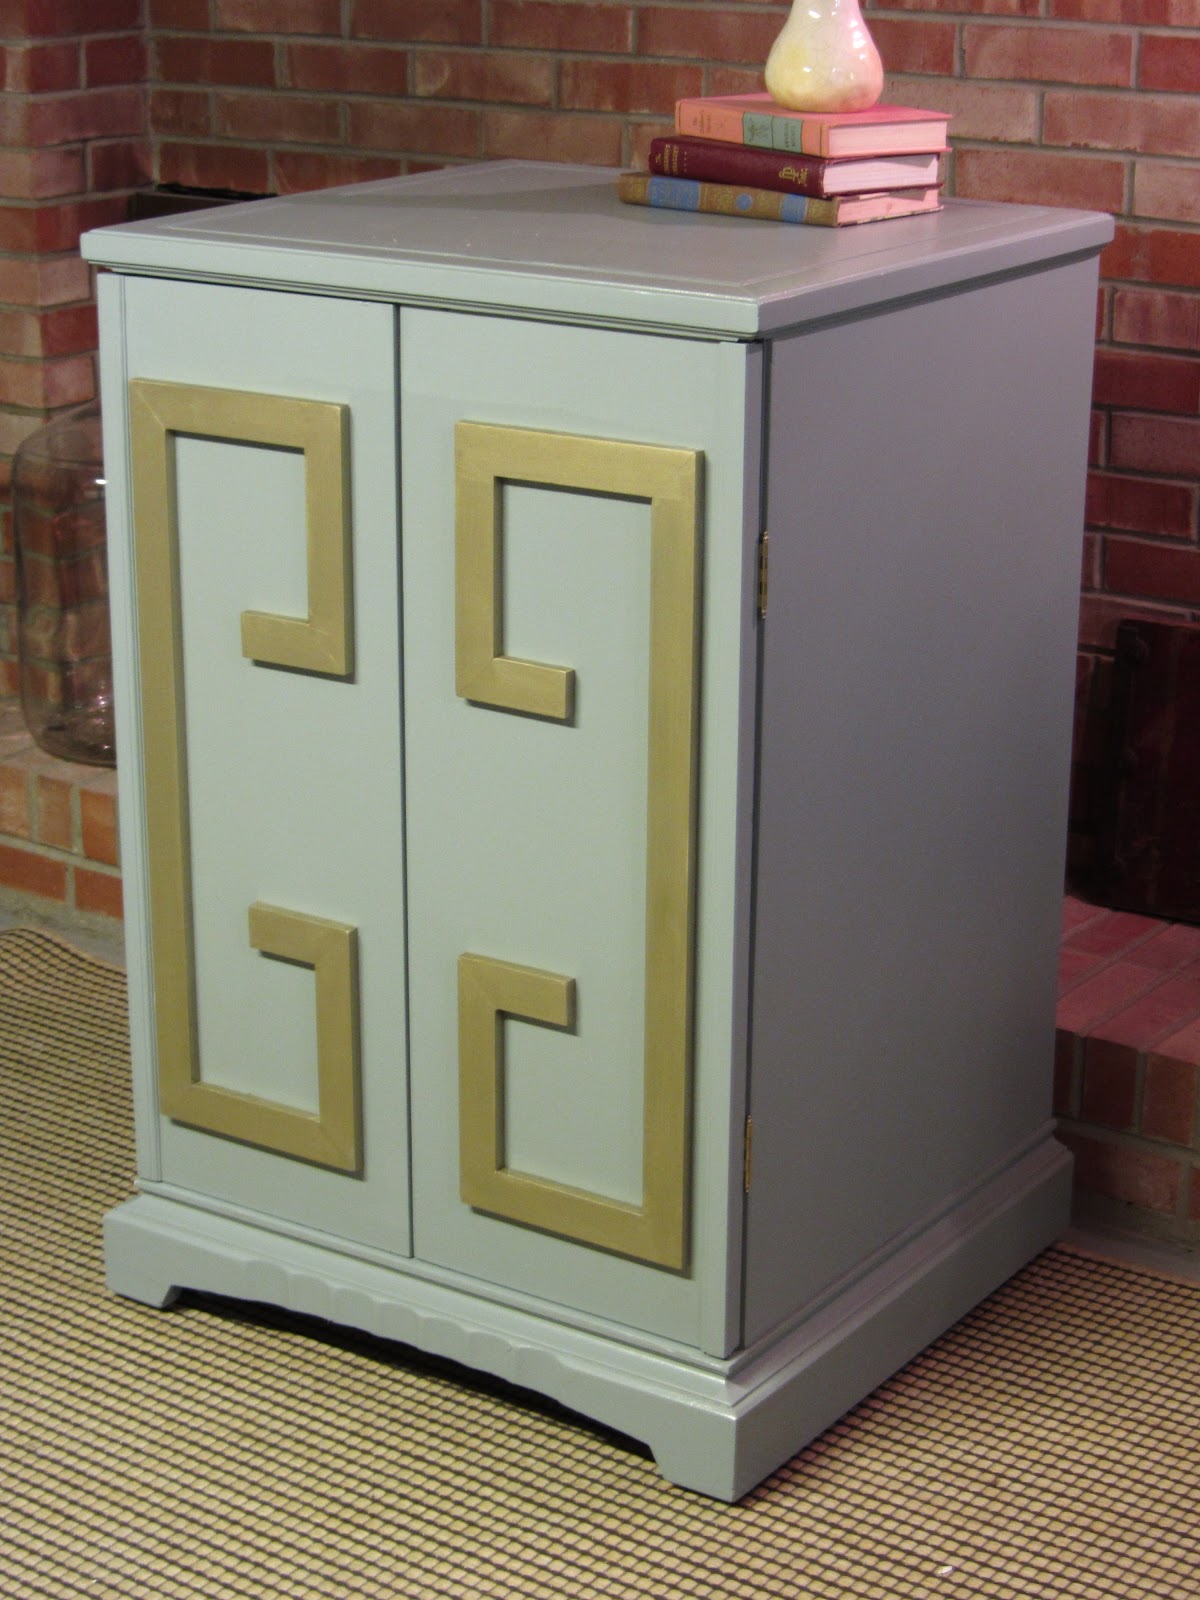
I have been loving the greek key design for a while and thought it might look interesting added to the front somehow.  Naturally, I forgot to take picture of this process, but what I did was tape out what I thought would be a good size on the front door,  measured and jotted down my dimensions on paper.  After a trip to Lowe's for the wood, I cut to the dimensions and mitered the corners.  


I primed and painted the pieces before I attached them with my nail gun.  I really think I could have just gotten away with just using wood glue, but was planning to actually use these pieces as the hardware, so knowing they would get pulled on, added some nails.  


I love how it turned out! I really like the gold/champagne color with the blue green.