So, knowing this, and the fact that I was going to eventually gutting this kitchen, I was looking for a temporary, budget friendly and quick solution.
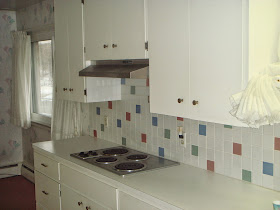
Because I didn't know I would be entering the blogging world over then, I didn't capture the 'during' moments but at least I have some before and afters.
These were taken the day we toook possession of the house.
I chose a tile that was much thinner and lighter than your typical 1/2" thick tile. because to be honest, I wasn't 100% sure about this entire project and wanted to make sure it would stick well, not look too thick and that the seam one seem on the end would not look odd.
You can see here how thin it is compared to your traditional tile. I found this at HD for $5 a 12" x 12" sheet and loved the colors. The marble underneath is what I am using for the upcoming reno and it was found at Lowe's.
The seam I was talking about. I just grouted it and it looks like I might have even painted it…oops:)
But I lucked out everywhere else as there were not other exposed seams.
But I lucked out everywhere else as there were not other exposed seams.
Yes, my cabinets are two different shades of gray…testing colors here for new cabinets
I went with a pre-mixed mortar for this application that was getting very little use. Grouted with antique white (I think) and called it a day!
I wouldn't recommend this for an area that is getting traffic or a lot of water but for this space, I think it worked perfectly and have not had any issues in almost 3 years and would totally do it again. I actually still love this tile and am going to miss it because we will be ripping it out for the upcoming kitchen reno. But just wanted to let peeps know about this option and hope it inspires you not to have to live with a backsplash you hate!


